Full Screen Mode Introduction
PDF Annotator's Full Screen Mode is an excellent way to display your presentation to an audience, from a small conference room meeting to an auditorium presentation full of people.
Full Screen Mode gives you a clean, easy to navigate presentation screen, and yet still enables access to important annotation and markup tools.
Opening Full Screen Mode
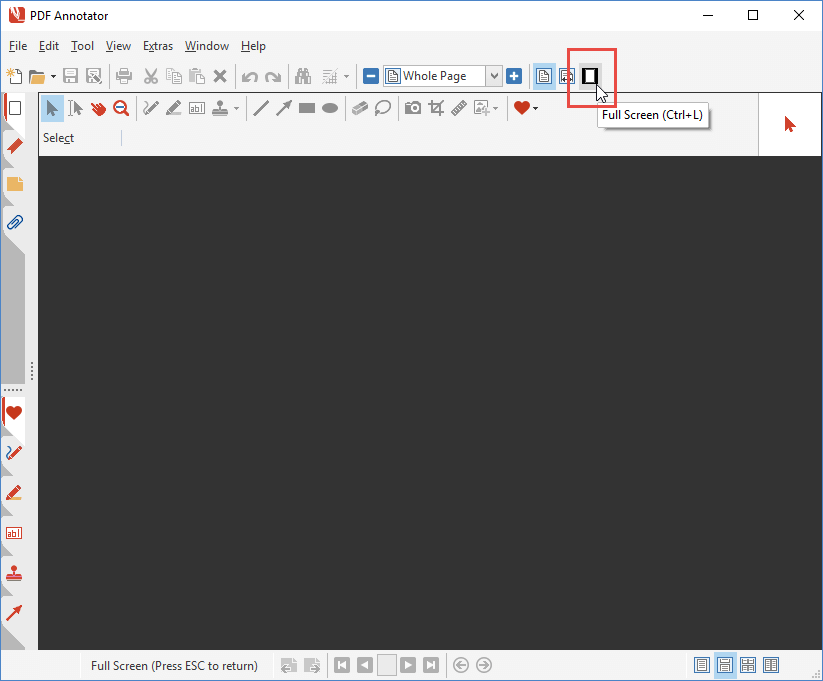
To get into Full Screen Mode, click the Full Screen button on the toolbar, as shown in the screen shot below, or press Ctrl+L.
Opening and Navigating Documents
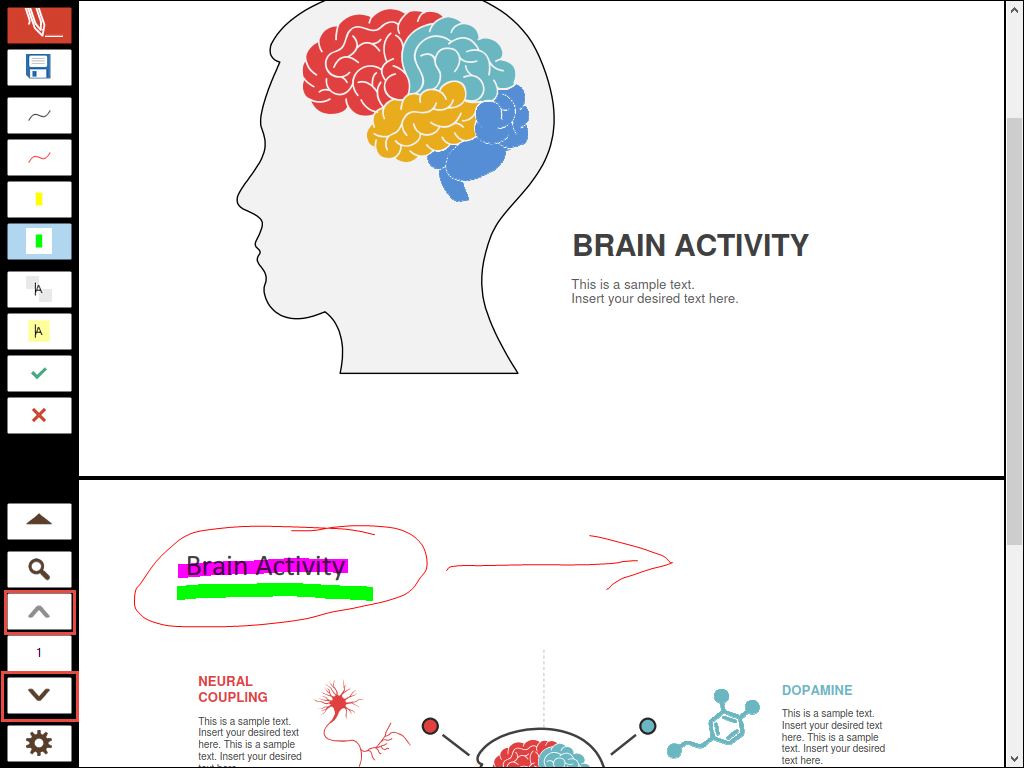
Once you entered Full Screen Mode, PDF Annotator will stretch over your complete screen.
You will find a special PDF Annotator toolbar on the left, the Full Screen Toolbar.
The upper most button containing the red PDF Annotator logo gives you access to the Full Screen Menu. If you already had a file open when you switched into Full Screen Mode, that document will be displayed. Otherwise, the Full Screen Menu will automatically pop up.
On the Full Screen Menu, there are options to create a New Document, to Open an existing file, or to select one of your Recently Used Documents from the list on the right.
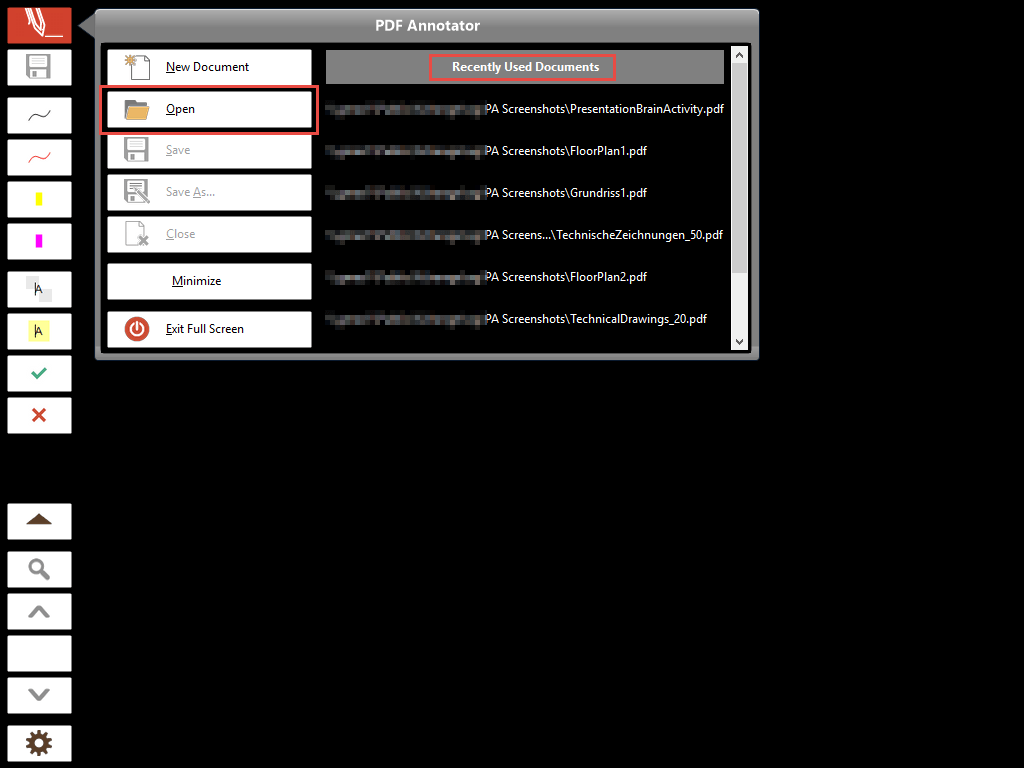
Let's go ahead and open a PDF presentation that we have prepared, and that we want to mark up and present using PDF Annotator.
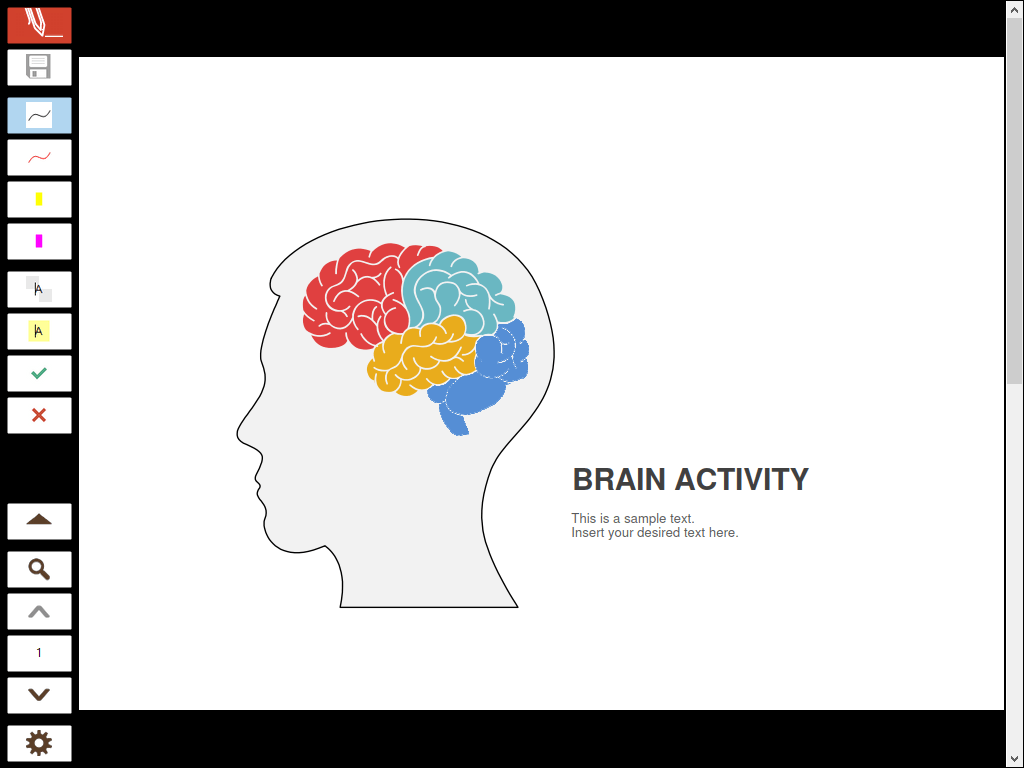
Once you opened the PDF presentation, it will display expanding to the full screen size.
You can now use the scroll bar on the right to navigate through the document, or the Arrow buttons on the bottom part of the toolbar to page up and page down.
The button between the arrow buttons displays the current page number.
Tool Buttons
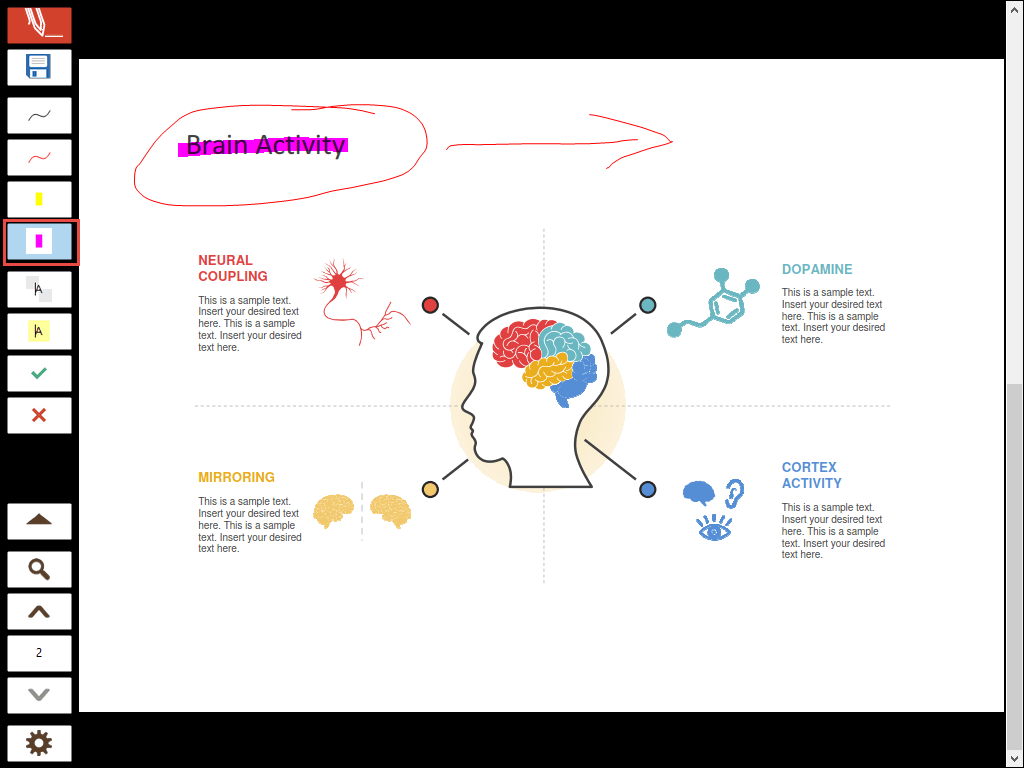
Looking at the upper half of the toolbar you can see a range of tool buttons.
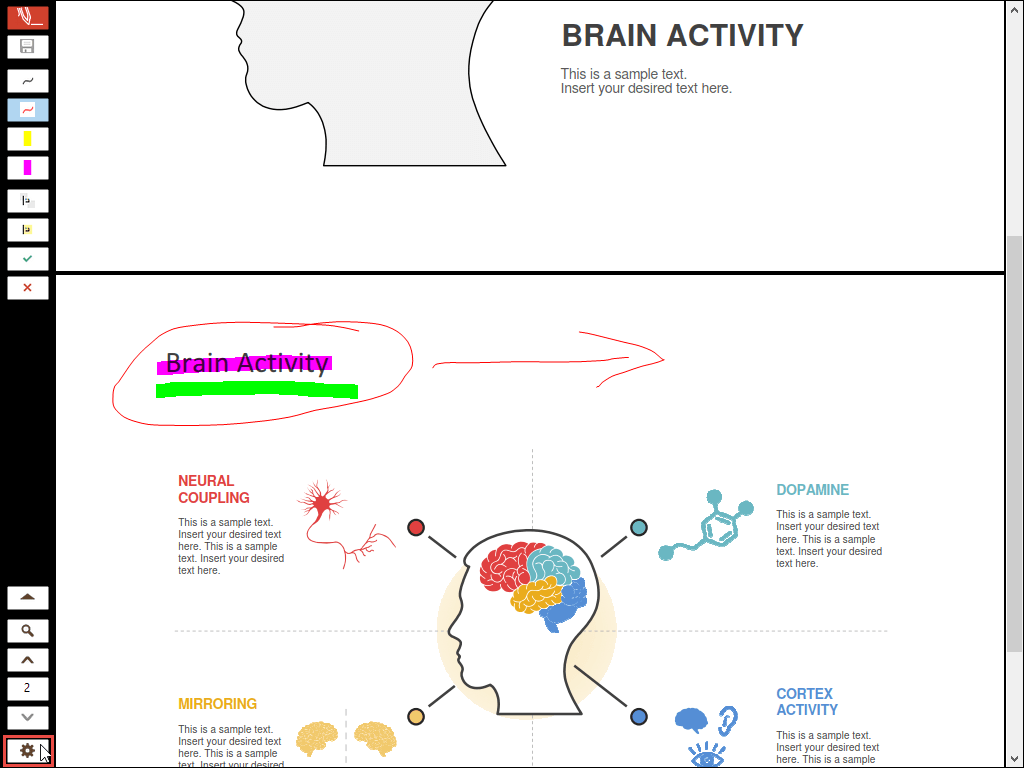
Click the red pen tool button to switch to the red pen, and try adding some markup to your document.
This way you can live markup the document in front of your audience, point out important parts on a slide, or fill in details, additional information, or new content!
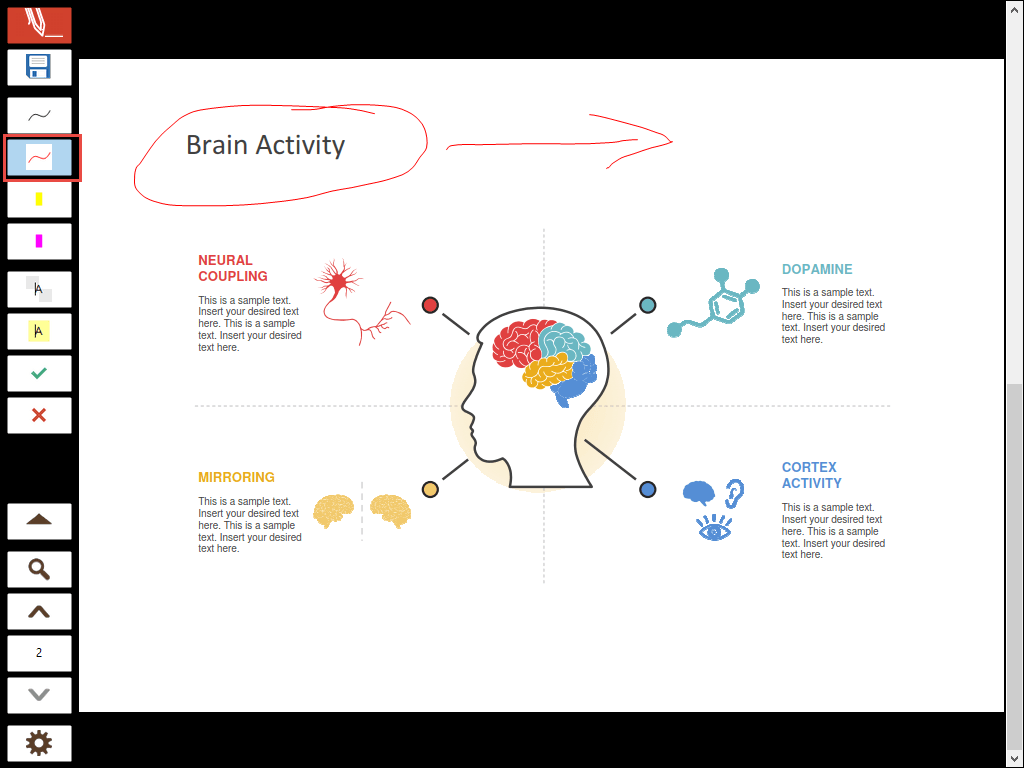
Let's switch to another tool, like the magenta marker tool to point out something important on the PDF slide.
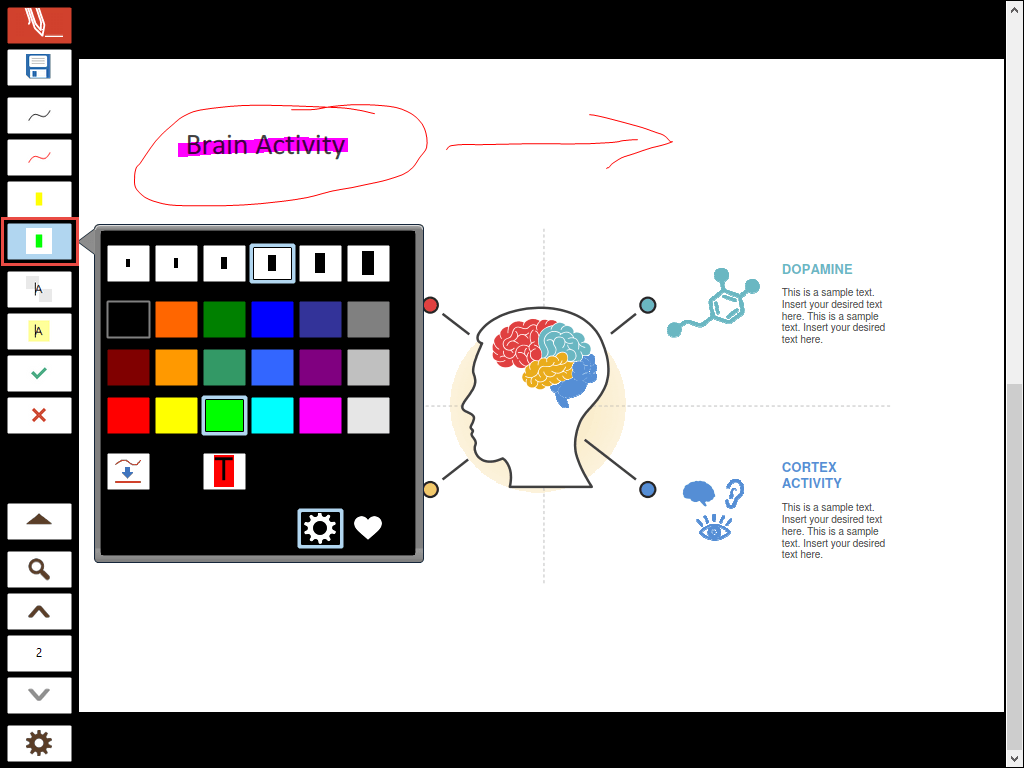
Maybe you want to use a different color?
You can quickly change the properties of the currently selected tool by clicking the active tool button one more time!
This will open the properties popup, where you can select from a range of pen widths, colors and more tool properties. The number of properties available depends on the kind of tool selected (i.e. pen, marker, text, stamp, ...).
Clicking the Favorites icon (the heart symbol) on the popup will switch to the tool favorites defined in the Toolbox in regular mode. Clicking the gear icon will take you back to the properties.
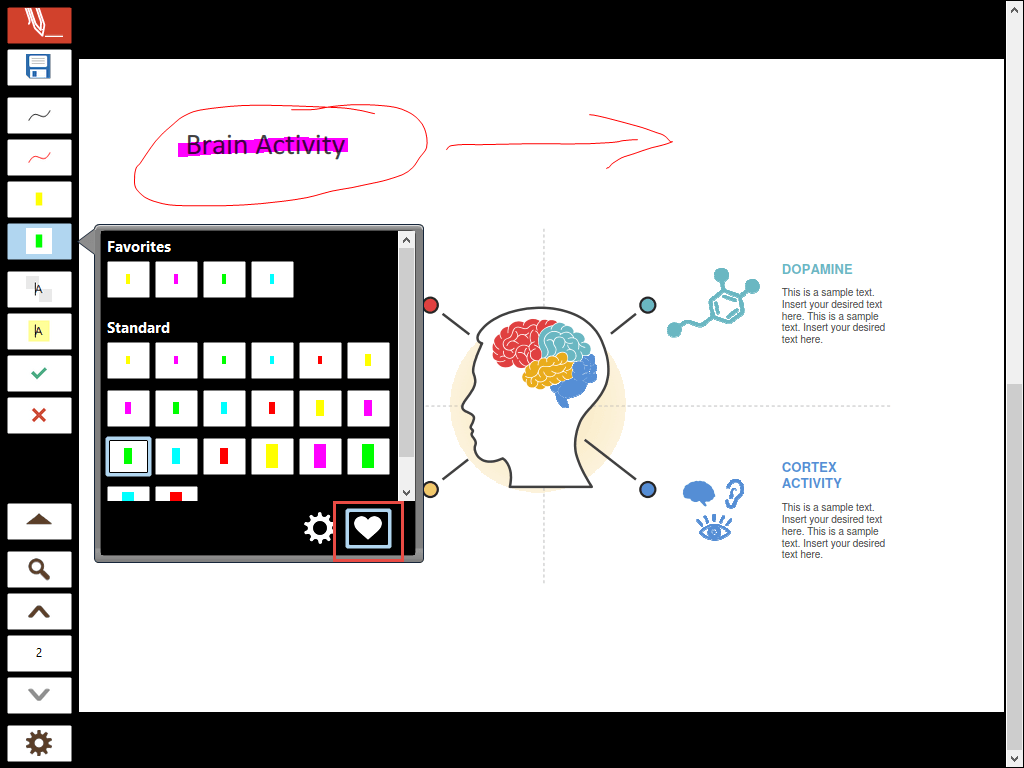
Click the tool button again, or click anywhere out of the properties popup to close the popup and start annotating with the newly configured tool.
To learn more about quickly changing tool properties, please read more on our separate tutorial:
How to quickly change tool properties in full
screen mode.
Saving Your Work
You can always save your changes to your document by clicking the Save button on the Full Screen Toolbar, which is the second button from the top (the first one after the Menu button).

View Options
PDF Annotator knows four different Page Layouts when displaying documents:
- One Page
- One Page - Continuous
- Two Pages - Continuous
- Two Pages
If you want to learn more about page layouts, please refer to our article on Page Layouts.
In the screen shots above, PDF Annotator was set to display one page at a time. Scrolling down always switched completely to the next page, you never see two pages at the same time.
If you do want to see two pages at the same time, like the bottom part of the current page, and the top of the next page, you can switch from One Page layout to One Page - Continuous layout.
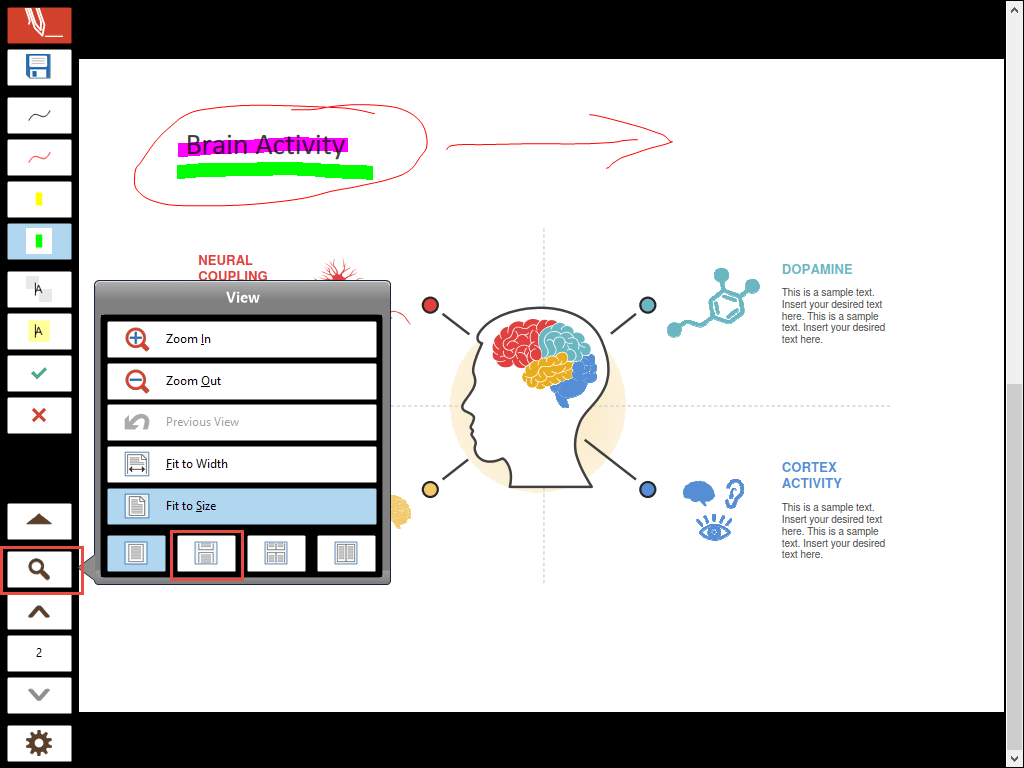
To switch between page layouts, click the Zoom button on the Full Screen Toolbar.
There you find a row of four buttons representing the four Page Layout options available.
Please note that you can also switch to the Zoom tool, or switch to Fit to Width or Fit to Size mode within this popup menu.
Switch to One Page - Continuous to see the new page layout. You can now see the bottom of the current page, and the top of the next page at the same time.
You can still use the Page up and Page down buttons to navigate.
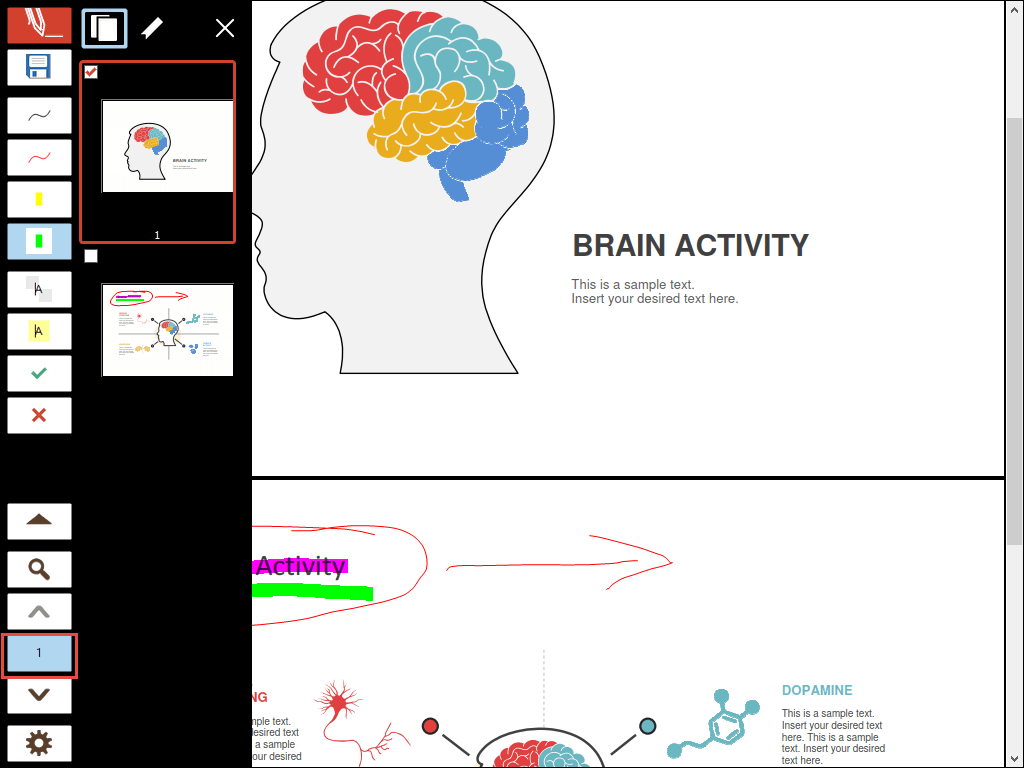
To get an overview of all the pages in your document, click the Page Number button between the arrow buttons.
This will open a sidebar showing small previews of all the pages in your document (page thumbnails).
You can click a page thumbnail to jump to that page.
Additional commands are available by right clicking on a page thumbnail.
If your document contains Bookmarks, you can switch to the bookmarks view by clicking the bookmarks icon on the top.
Clicking a bookmark jumps to the appropriate position in the document.
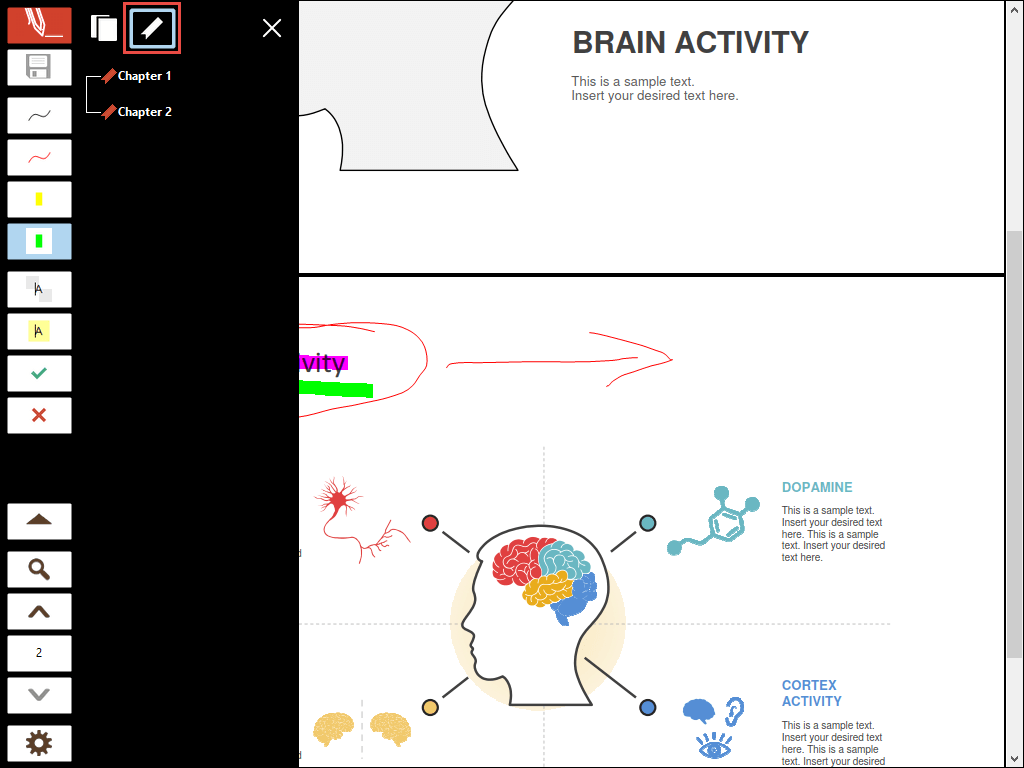
To close this sidebar again, just click the page number button once again, or click the Close button (X) on the top right of the sidebar.
Full Screen Settings
You probably already noticed the Settings button on the bottom of the Full Screen Toolbar, the button with the gear icon.
Let's first right click the Settings button to reveal another popup menu.
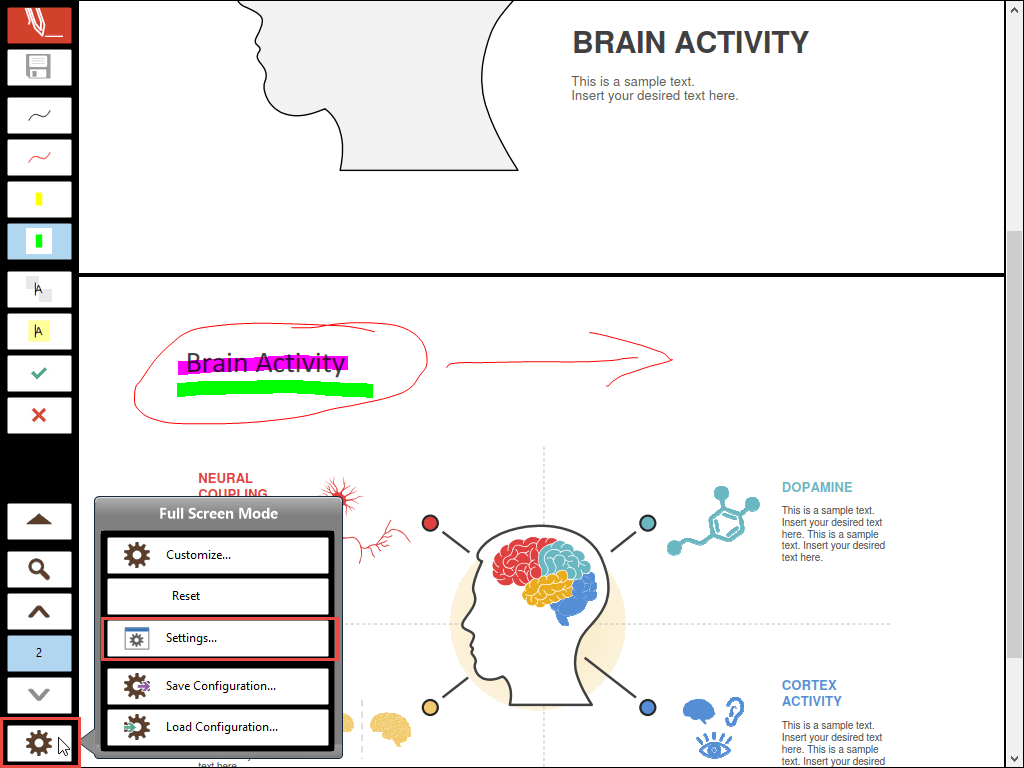
On this right-click popup, you can find commands to Reset, Save and Load the Full Screen configuration. We will not handle these options in this article in more detail, but in the next steps, we will customize the buttons in the Full Screen Toolbar, and using these commands here, you can reset all customizations to the factory settings, or save your Full Screen Toolbar settings (as a backup, to share them with a co-worker, or to move them to another device). The Load command will load the customizations you previously saved.
We will look at the first item on this menu, Customize, in a moment.
But for now, let's click the Settings... button.
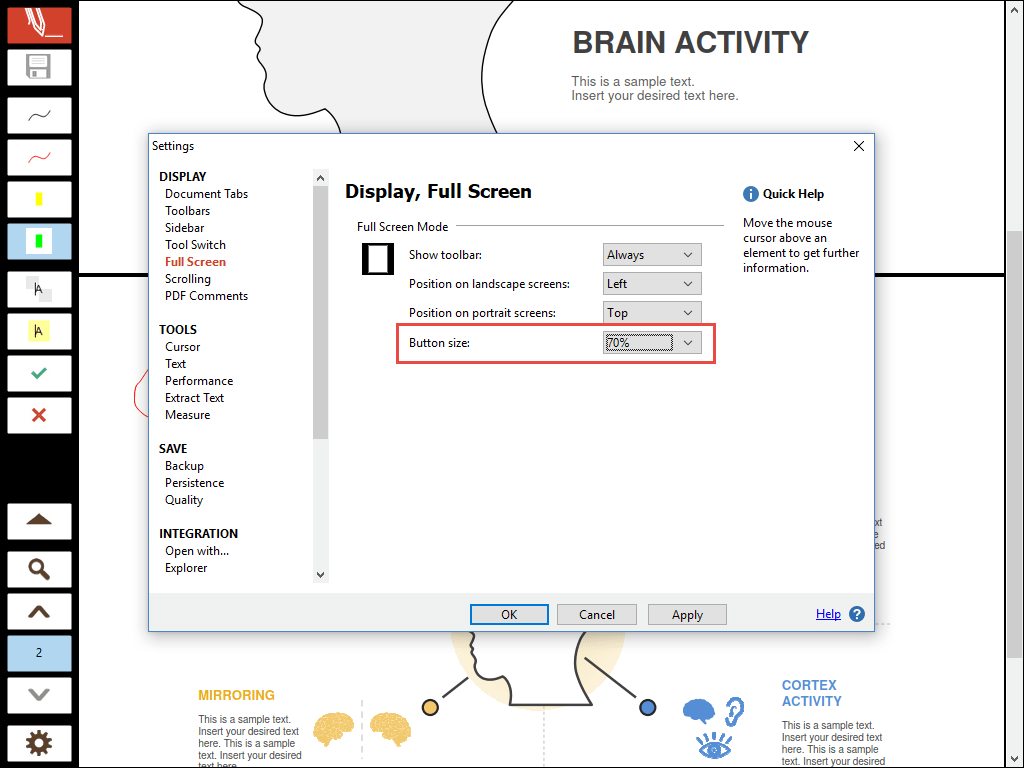
The Settings button opens PDF Annotator's well known Settings window.
Here you can customize the appearance of the Full Screen Toolbar. In general, we recommend to stay with the defaults here, unless you have a good reason to change something. In our example, though, we want to switch the Button size to a smaller one.
The reason is, that for better visibility, we have set our demo computer to a very small screen resolution. This results in the buttons on the Full Screen Toolbar being really huge, probably way bigger than on your own screen.
So, we're going to decrease their size here a little bit - but you don't essentially have to do the same. In fact, we would only recommend decreasing the button size if your screen resolution is as small as ours, and the buttons appear as huge as in the screen shots above.
After closing the Settings window with OK, we're back in Full Screen Mode.
Action Buttons
Let's work up through the buttons in the lower part of the Full Screen Toolbar, and click the Expand button above the Zoom button.
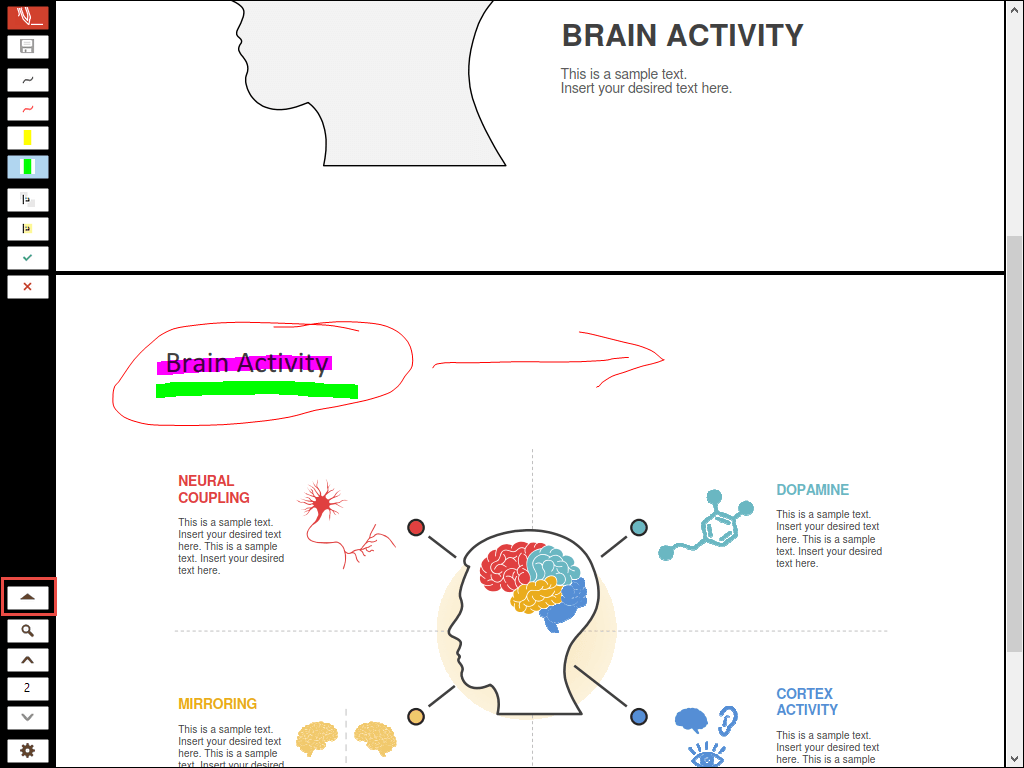
The Expand button brings up a line of additional buttons, called Action Buttons.
Contrary to the Tool Buttons in the upper half of the toolbar, Action Buttons don't hold tools, but commands or options.
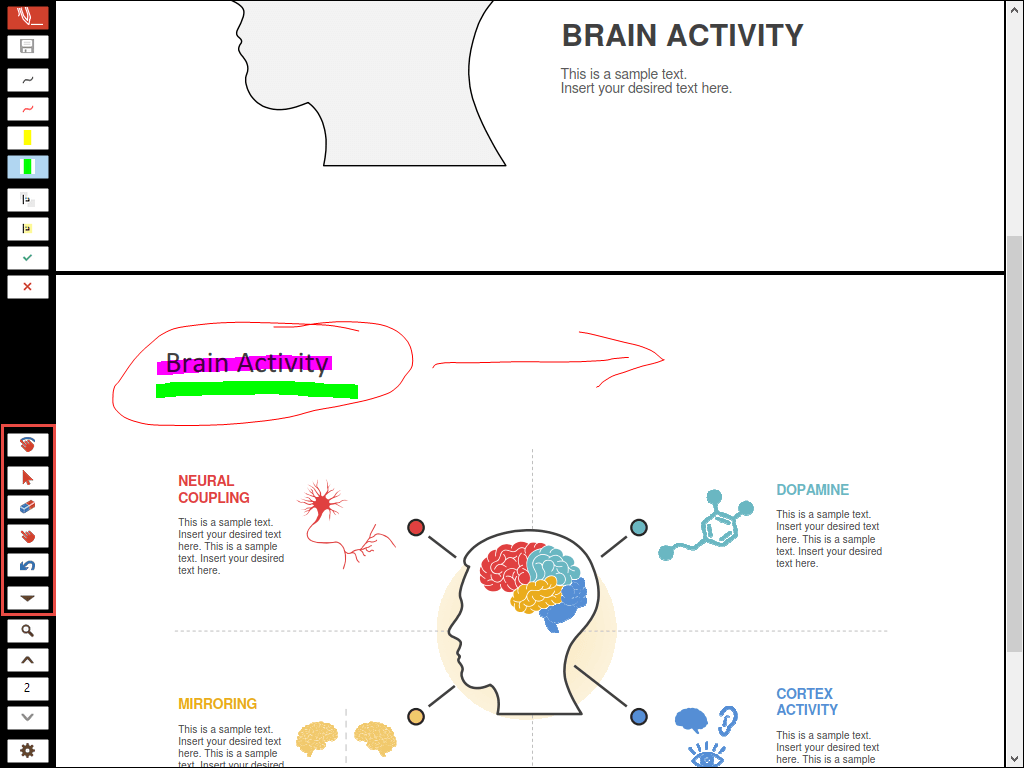
For example, from top to bottom in the screen shot above, we have:
- The Draw with Finger option, which toggles the ability to draw with the finger instead of panning with the finger (this option is only availabe on touch enabled devices).
- The Select Tool to select annotations added using any annotation tool. This can also be used as a pointer, that can be seen by the audience way better than, for example, the tip of the pen tool.
- The Eraser Tool to erase annotations.
- The Pan Tool to navigate on the page.
- The Undo Command to undo the last step.
If this list of Action Buttons does not yet hold the options you need most, no worries! We will now show you how to customize these buttons.
Full Screen Customization
In order to change the Tool Buttons and Action Buttons behaviour, we need to switch PDF Annotator into Customization Mode.
To switch into Customization Mode, do a regular left click on the Settings button on the bottom left (the gear icon).
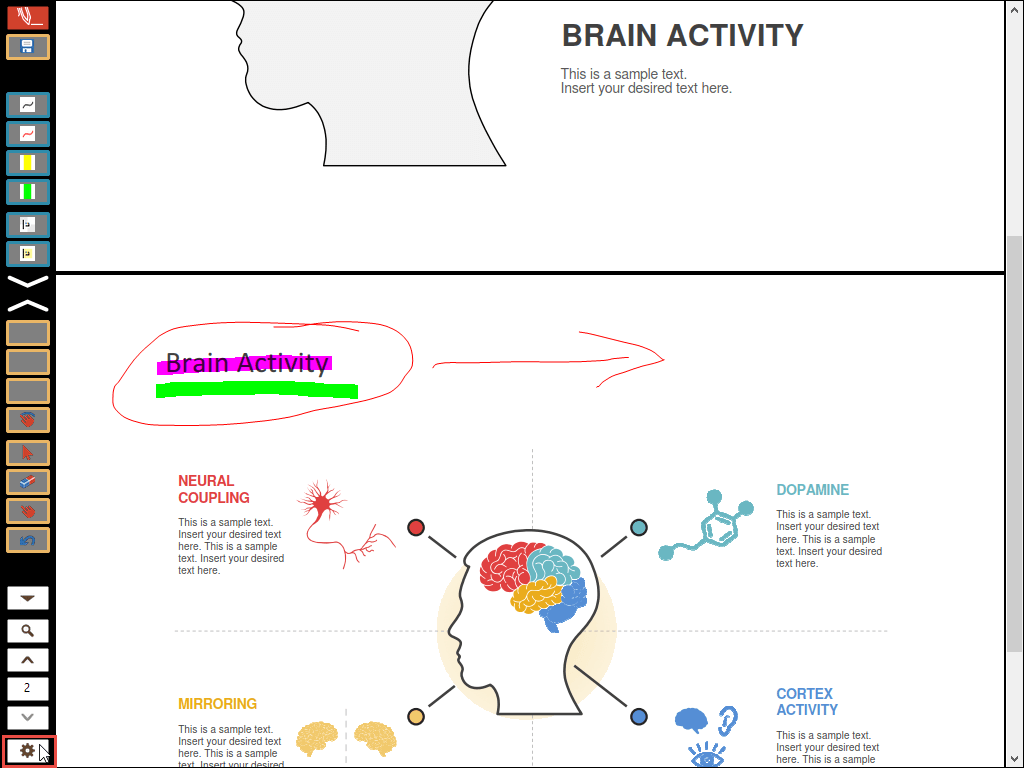
As you noticed, this changed the color of all Tool Buttons and Action Buttons.
These are the buttons that can be customized.
The Tool Buttons can be identified by their blue frames.
The Action Buttons now have orange frames.
You can click any of the Tool Buttons to bring up the Edit Tool window.
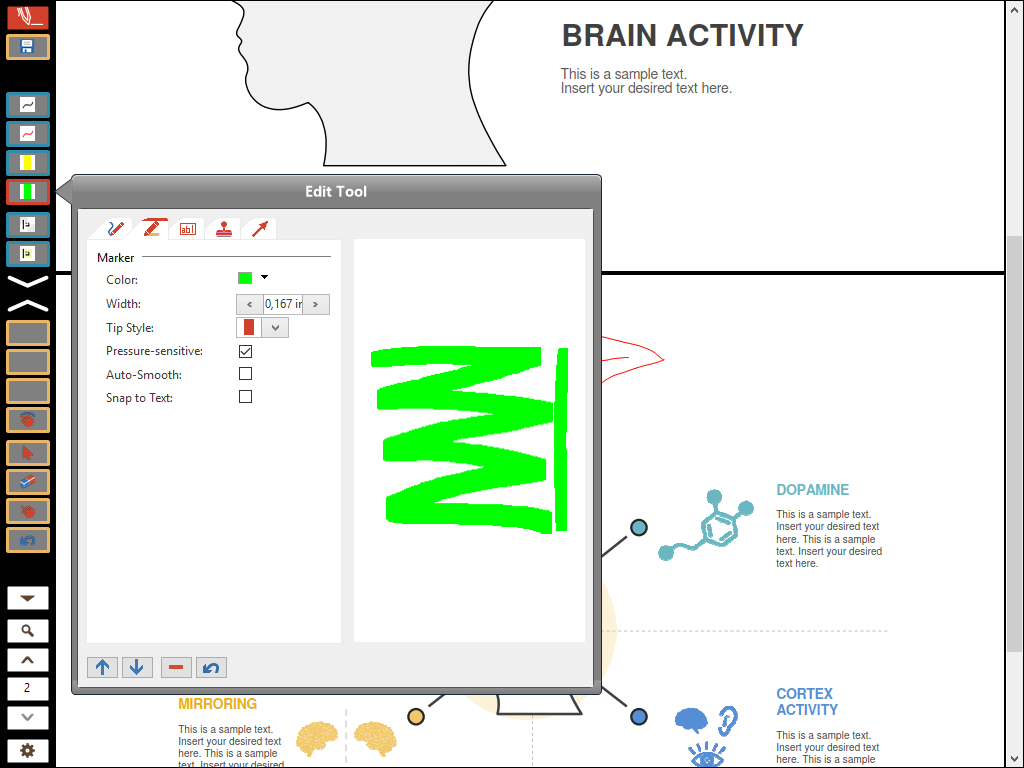
Here you can change the type of the tool (Pen, Marker, Text, Stamp, Graphical Object) by clicking the tabs on top of the Edit Tool window.
Within the window, you can find various options to set up your tools.
To learn more about customizing the Tool Buttons, please read more on our separate tutorial:
How to customize the tool buttons in full
screen mode.
You can also click any of the Action Buttons to bring up the Customize Command window.
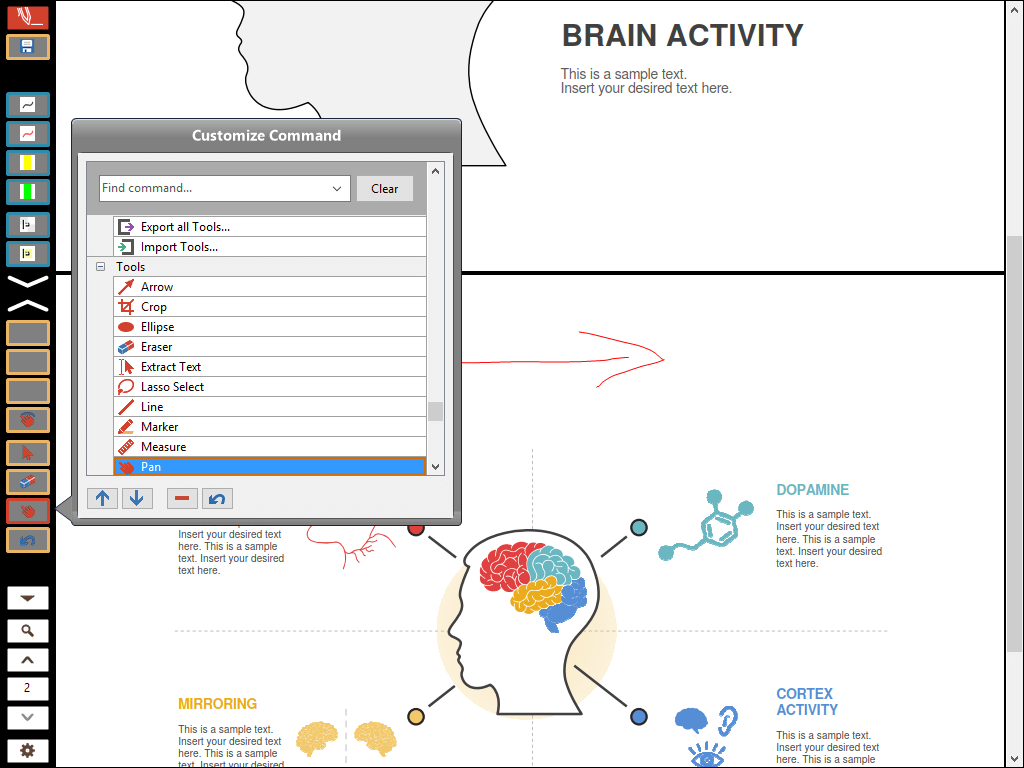
In the Customize Command window, you can select any command from the list, to associate the Action Button with the selected command.
To find a command on this long list, either scroll through the sections on the list, or enter any keyword into the Find command... search box on the top.
To learn more about customizing the Action Buttons, please read more on our separate tutorial:
How to customize the action buttons in
full screen mode.
Did you also notice the set of buttons on the bottom of both the Edit Tool and Customize Command windows?
These buttons can be used to move the currently selected Tool or Action Button up or down, or to remove the button. Removing the button will not physically removed it, but the button will not be associated with any tool or command anymore, and will stay empty and invisible once you exit Customization Mode. Please note that you cannot merge Tool and Action Buttons. The general setup and maximum numbers of buttons is fixed.
The fourth button is Undo, which will reset your last change on the currently selected button.
Once you're done customizing, click the Settings button again, and see the toolbar getting back to its normal colors, displaying all your changes.
Exiting Full Screen Mode
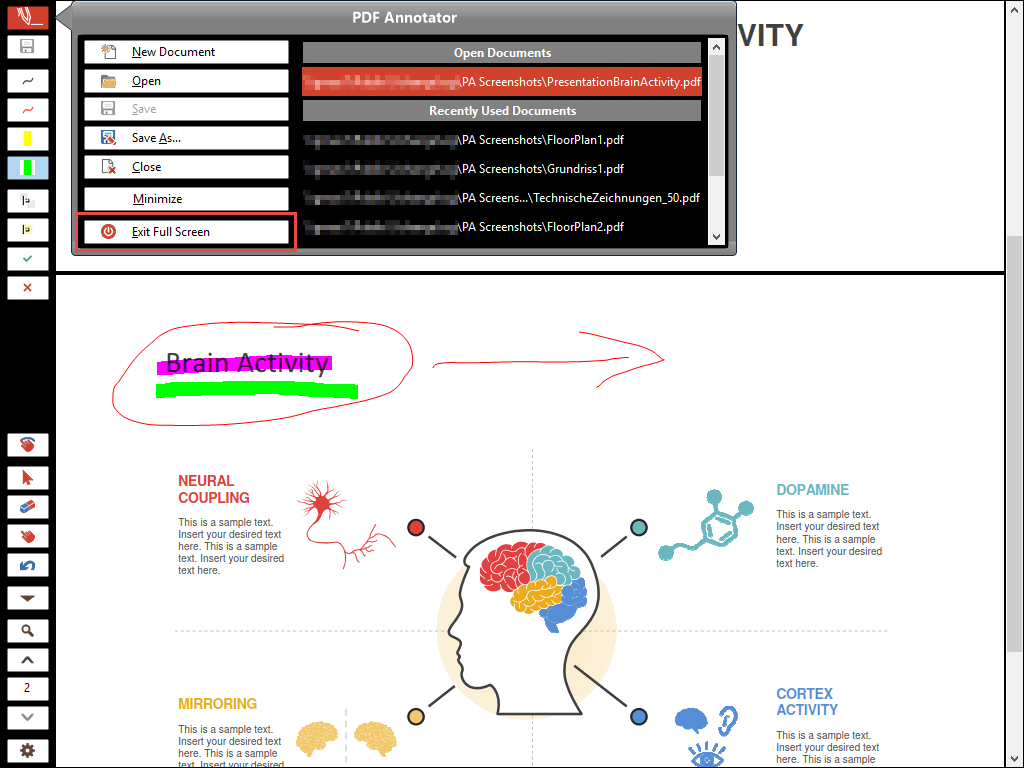
The last thing to show you in regards to PDF Annotator's Full Screen Mode is how to exit it:
Either press the ESC key on your keyboard, or click the Menu button on the toolbar, and select Exit Full Screen.
That was our short tour of PDF Annotator's Full Screen Mode, showing you how to enter and exit Full Screen Mode, how to use and customize the Tool Buttons and Action Buttons, how to switch the Page Layout and various View Options, and introducing you to more Full Screen features to discover!