How to customize the tool buttons in full screen mode
The Tool Buttons in Full Screen Mode are easy to customize
In PDF Annotator 6, we introduced a new Full Screen Mode that features a single toolbar, which can be customized extensively.
The new toolbar features a set of Tool Buttons, as well as a set of Action Buttons. The idea behind the Tool Buttons is to customize these buttons to provide the tools you typically work with, so you can switch between these tools easily, and don't have to set them up over and over again.
Let's see how easy it is to customize a Tool Button.
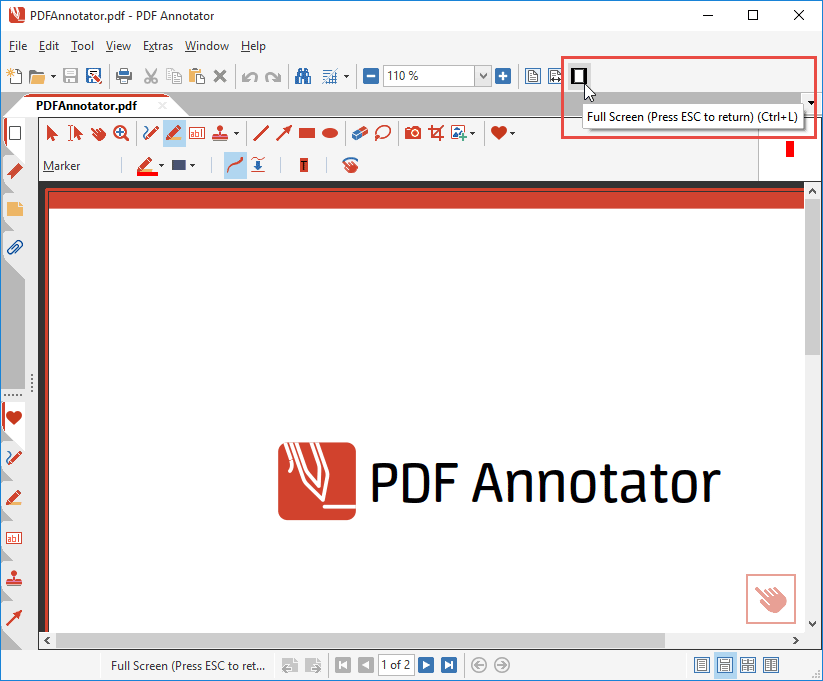
First, let's switch PDF Annotator into Full Screen Mode by clicking the Full Screen button in the toolbar, or pressing CTRL-L.
Here's how Full Screen Mode looks like by default. You will notice the toolbar on the left.
From the top to the bottom, you will find on the toolbar ...
- the Full Screen Menu button.
- one Action Button, that is by default a Save button.
- eight Tool Buttons that have been preset with two different Pen tools, two Markers, two Text tools, and two Stamps.
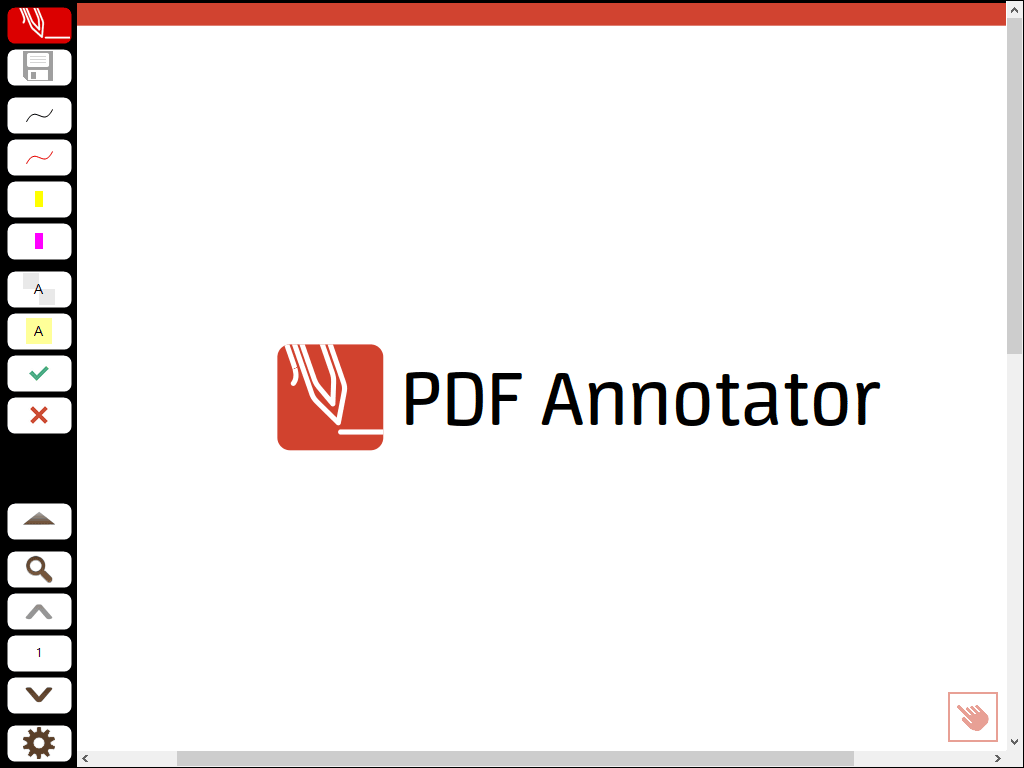
On the bottom of the toolbar, you will find (this time from bottom to top) ...
- the Customize button (the button with the gear icon).
- three Page Navigation buttons (to navigate one page up and down, and one button that displays the current page number, and provides more options when you click it).
- the Zoom button, which provides various zoom options when clicking it.
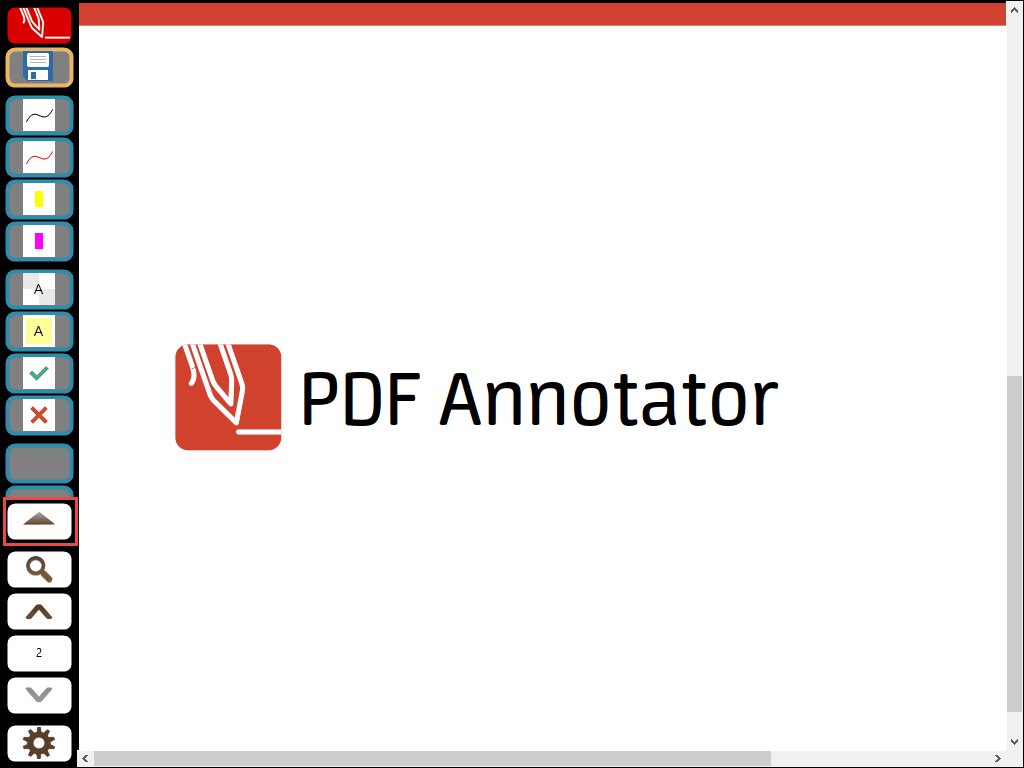
- an Expand button, which you can click to bring up more Action Buttons.
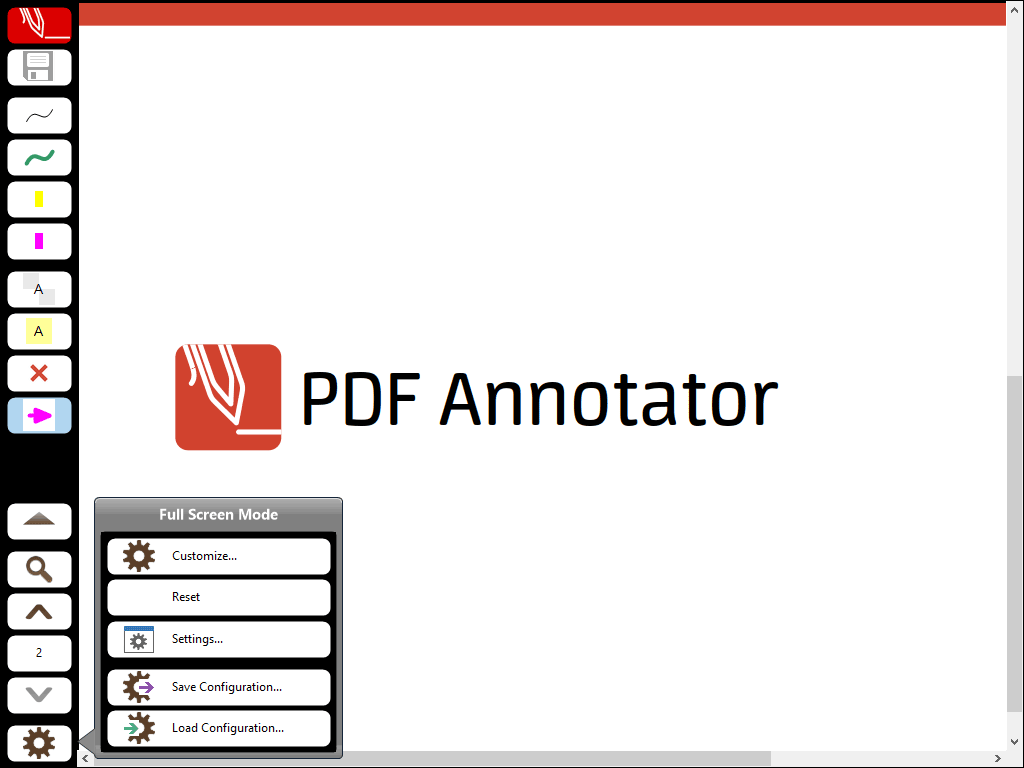
To customize the Full Screen toolbar, we need to click the Customize button (the one with the gear symbol) to get into customization mode.
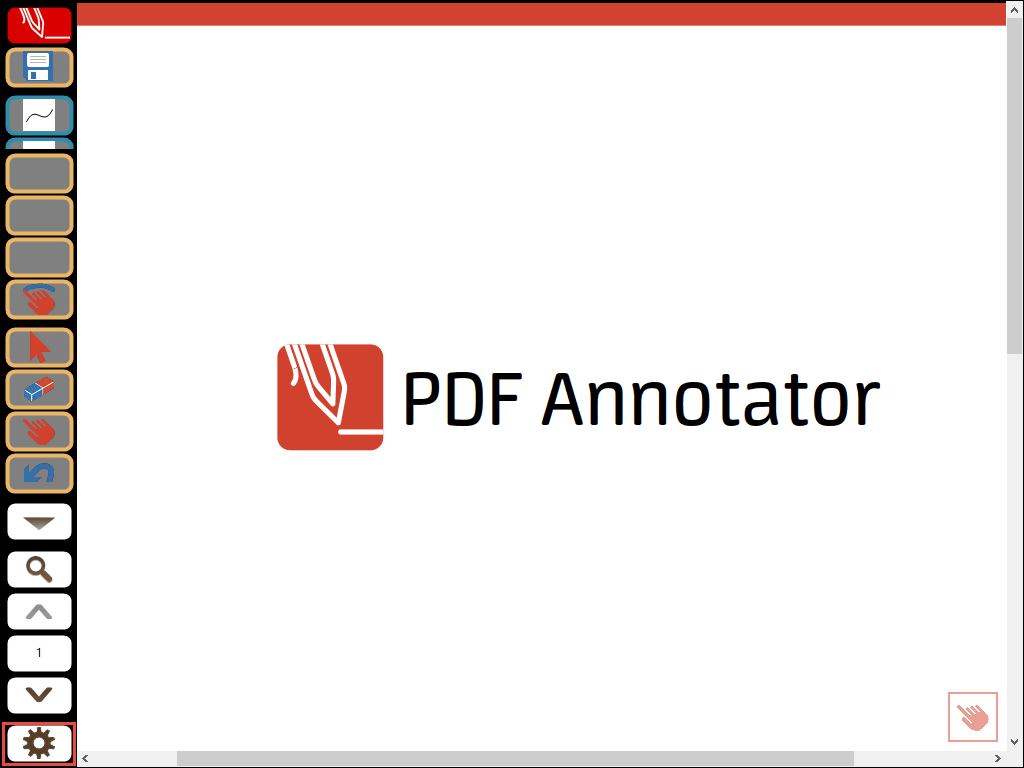
On our screenshot above, you will notice that the Action Buttons, which would normally be hidden until we press the Expand button, now became visible. For taking the screenshots, we ran PDF Annotator on a very small screen, so there is not enough space for the Tool Buttons on the top, and the Action Buttons on the bottom to be visible simultaneously. The Action Buttons from the bottom overlay the Tool Buttons on the top. This will typically not happen on your (larger) screen. Let's click the Expand button, so we get rid of the Action Buttons for now, and can see the Tool buttons.
As you probably already noticed, in customization mode, Tool Buttons have a blue outline, while Action Buttons can be identified by an orange outline.
Let's click one of the Tool Buttons (with the blue outline) to customize it.
This opens the Edit Tool window.
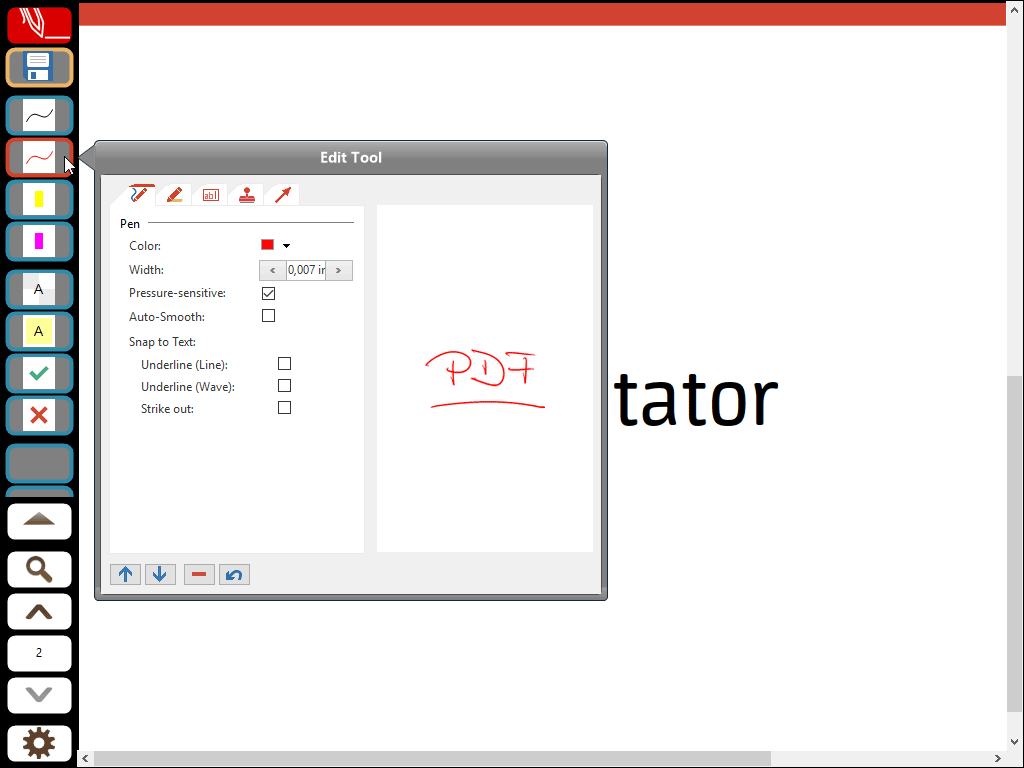
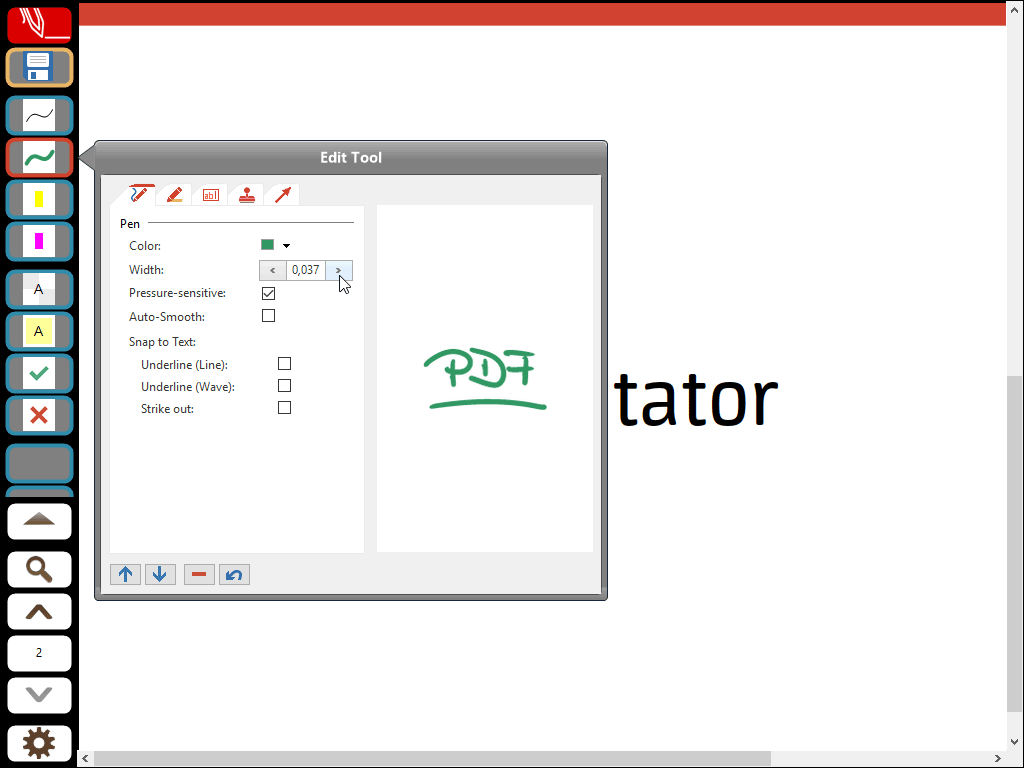
In the Edit Tool window, we can now select different styles for this tool. For example, we can change the fine red pen to a medium green pen:
You will notice that the small preview of the tool style, right on the Tool Button, automatically updates when you change something in the Edit Tool window.
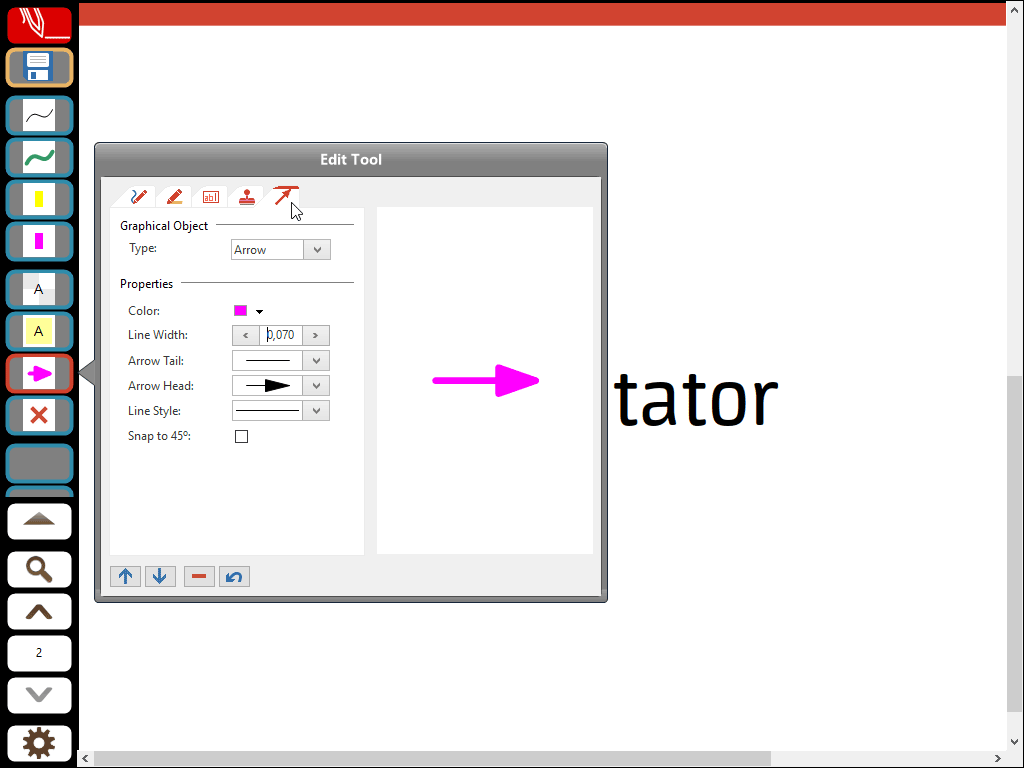
Let's click another Tool Button and change it to a different kind of tool. For example, let's change the first stamp tool button to an arrow tool:
- Click the Tool Button.
- Select the new tool type by clicking one of the tabs on top of the Edit Tool window.
- Choose other styles, like color, width, arrow tail and head.
Again, you will see the small preview on the Tool Button automatically updating to your changes.
What else can we do?
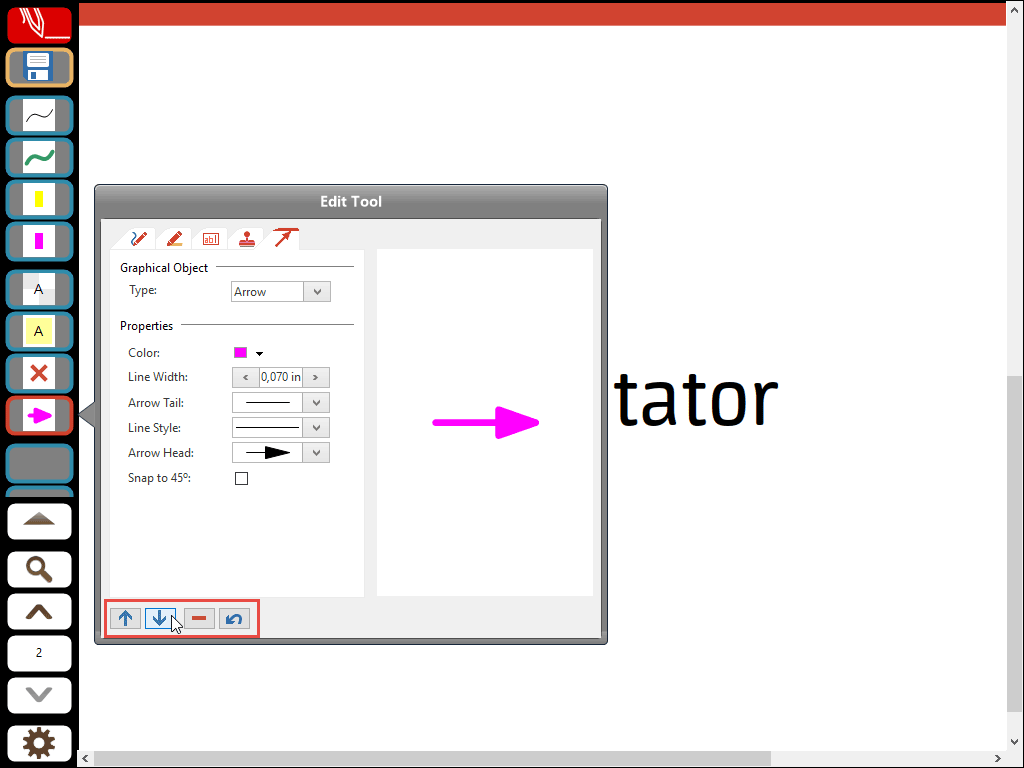
- We can move buttons up and down by clicking the up and down buttons in the Edit Tool window.
- We can choose and set up one of the blank Tool Buttons, which have not been associated to a tool, and therefor have not been visible so far on the Full Screen toolbar. There's a maximum of 24 Tool Buttons we can customize. If they don't all fit on the screen, we can scroll through the buttons with our finger (or using the arrow buttons, which appear if not all buttons are visible).
- We can click the Minus button in the Edit Tool window to make a button blank again. It will then just show up as a black space on the toolbar.
- We can choose the Undo button on the bottom of the Edit Tool window to get back to the tool settings that were present when we started customizing.
Finally, when we click the Customize (gear) button again, we leave customization mode, and we're done!

One more tip: When you right click the Customize button (the gear icon), you will find a number of options to choose from. For example, we can Reset all customizations we just made, and get the Full Screen toolbar back to its factory defaults. This would discard all the changes we just made.
In another article, we will look at customizing Action Buttons. But, sssh, it's pretty straight forward! Just try it!