
How to create a vector stamp from an SVG file
Stamps that stay razor-sharp at any size: vector stamps from SVG files!
We have already shown you how to create a stamp from an image. In addition to classic image formats like PNG or JPG, PDF Annotator now also supports SVG files. This lets you create stamps that you can enlarge on the document as much as you like, without them becoming blurry or "pixelated".
Raster image or vector graphic: what's the difference?
A raster image (also called a bitmap), for example a PNG or JPG file, consists of a grid of individual, colored pixels. The number of these pixels is fixed. When you enlarge a raster image, the existing pixels have to be spread across a larger area. Edges and curves then become blurry and fuzzy, or show visible jagged steps.
A vector graphic, for example an SVG file, doesn't store pixels at all, but a description of shapes: lines, curves, areas, and colors. These shapes are recalculated each time they are displayed, to match the current size. That's why you can enlarge a vector graphic as much as you like, and edges and curves always stay razor-sharp.
This makes vector graphics ideal for logos, symbols, seals, or pictograms. Many company logos are already available as SVG files anyway, and graphics programs like Inkscape or Adobe Illustrator can save SVG files, too. For photos or scanned signatures, on the other hand, a raster image remains the right choice.
Creating a stamp from an SVG file
In our example, we use the PDF Annotator logo as an SVG file.
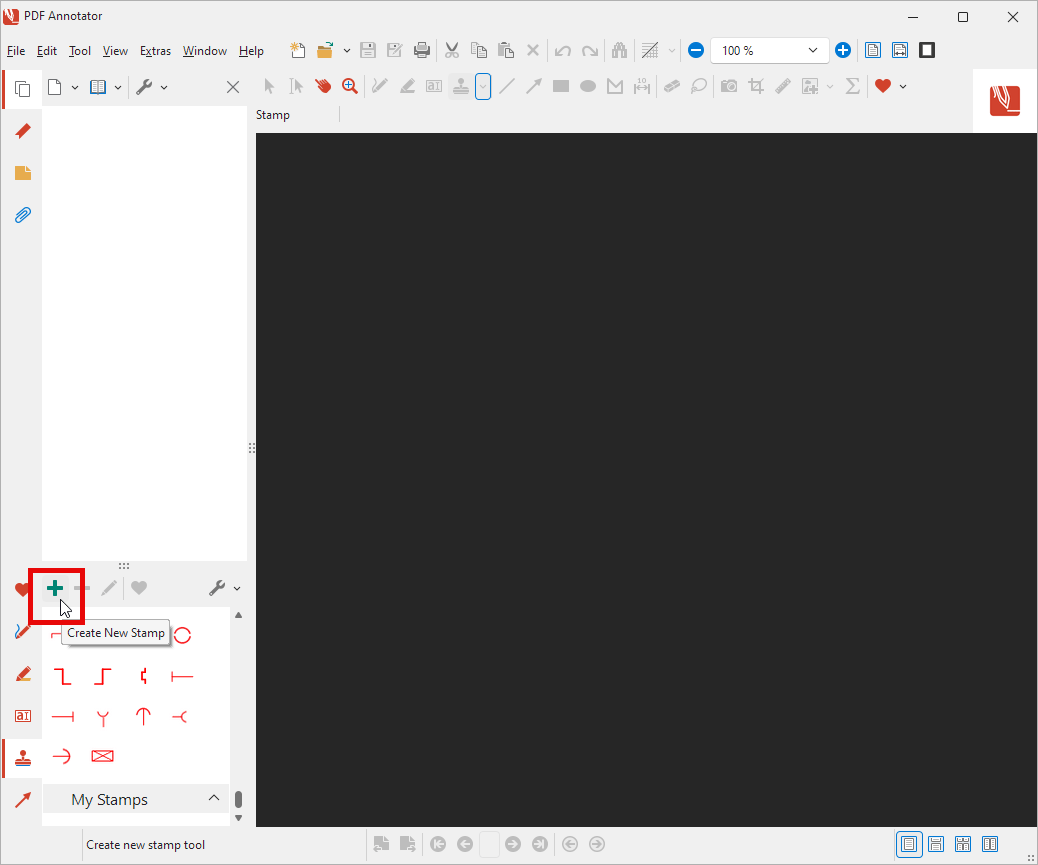
First, we open the Stamp toolbox with a click on the tab with the stamp icon at the bottom left. Then we click the plus icon Create New Stamp at the top of the toolbox.
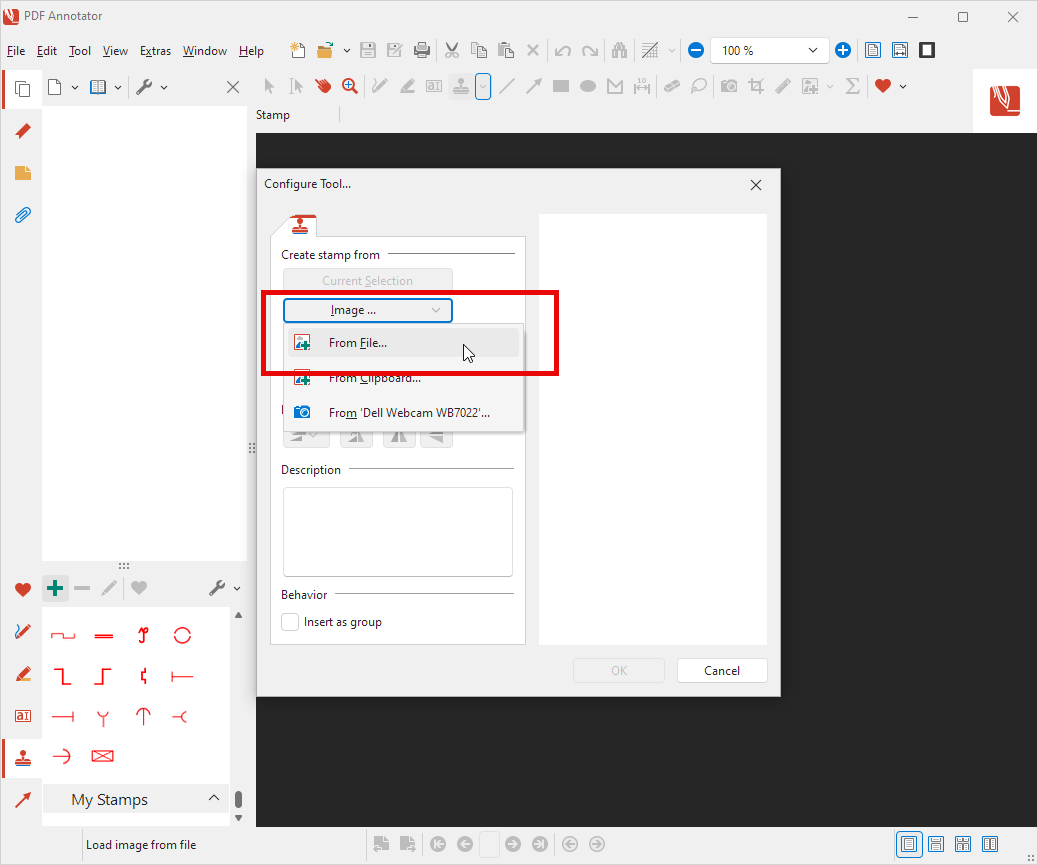
The Configure Tool window comes up. Under Create stamp from, we click the Image... button and choose From File... on the menu.
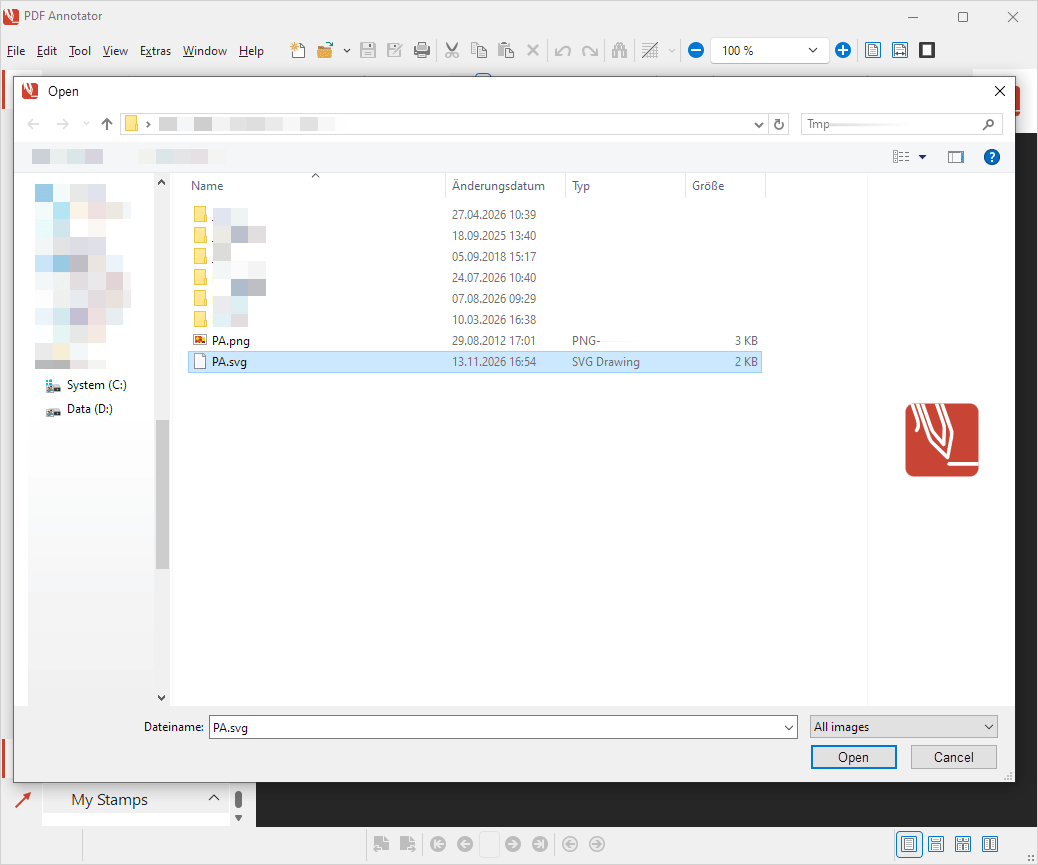
In the Open dialog, we navigate to our SVG file, select it, and click Open. Like all other supported formats, SVG files are listed under the file type All images.
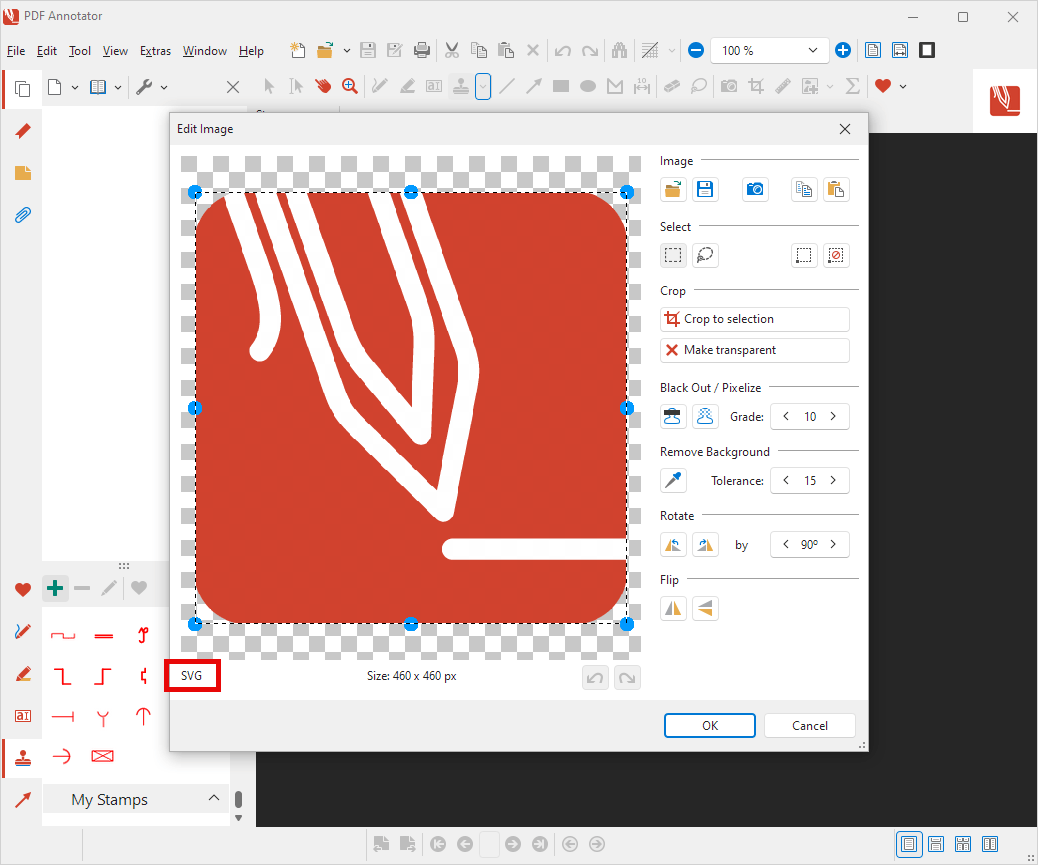
PDF Annotator now shows the selected file in the Edit Image window. The SVG label at the bottom left tells you that this is a vector graphic.
Since we want to use the graphic as is, we simply click OK.
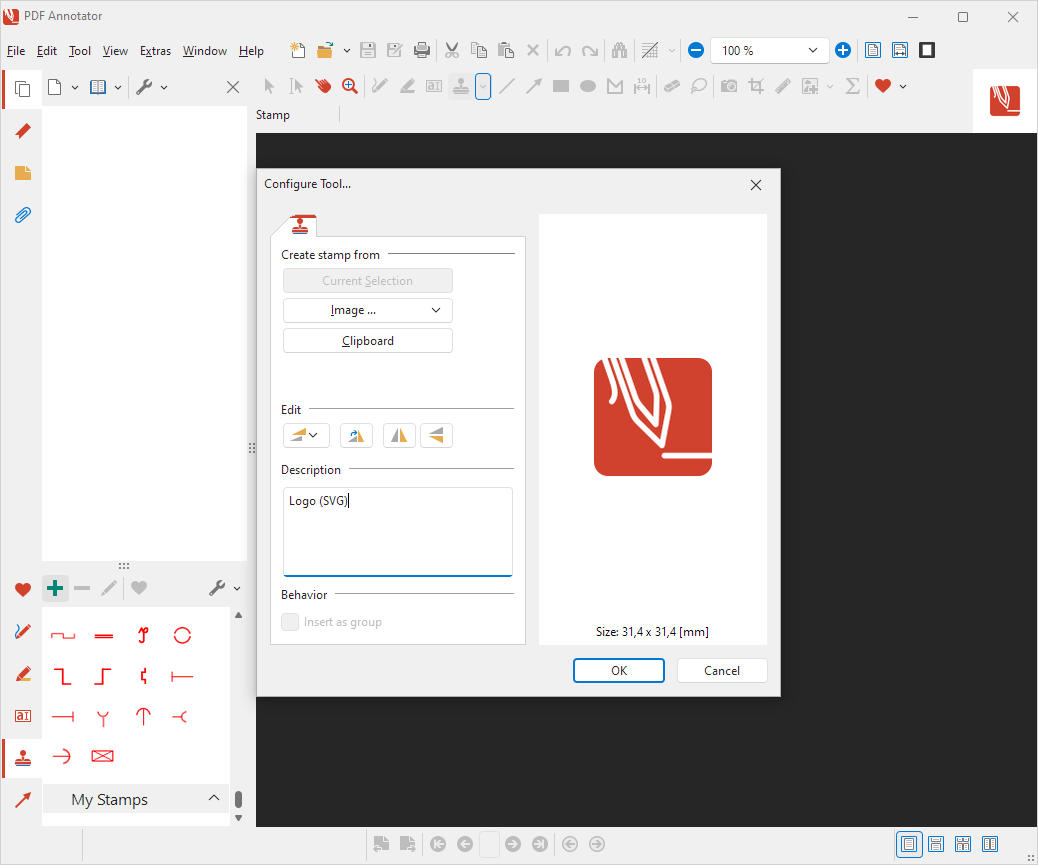
Back in the Configure Tool window, we see a preview of our new stamp on the right. Under Description, we enter a text, for example "Logo (SVG)". The description appears later when you hover over the stamp in the Stamp toolbox. Then we click OK.
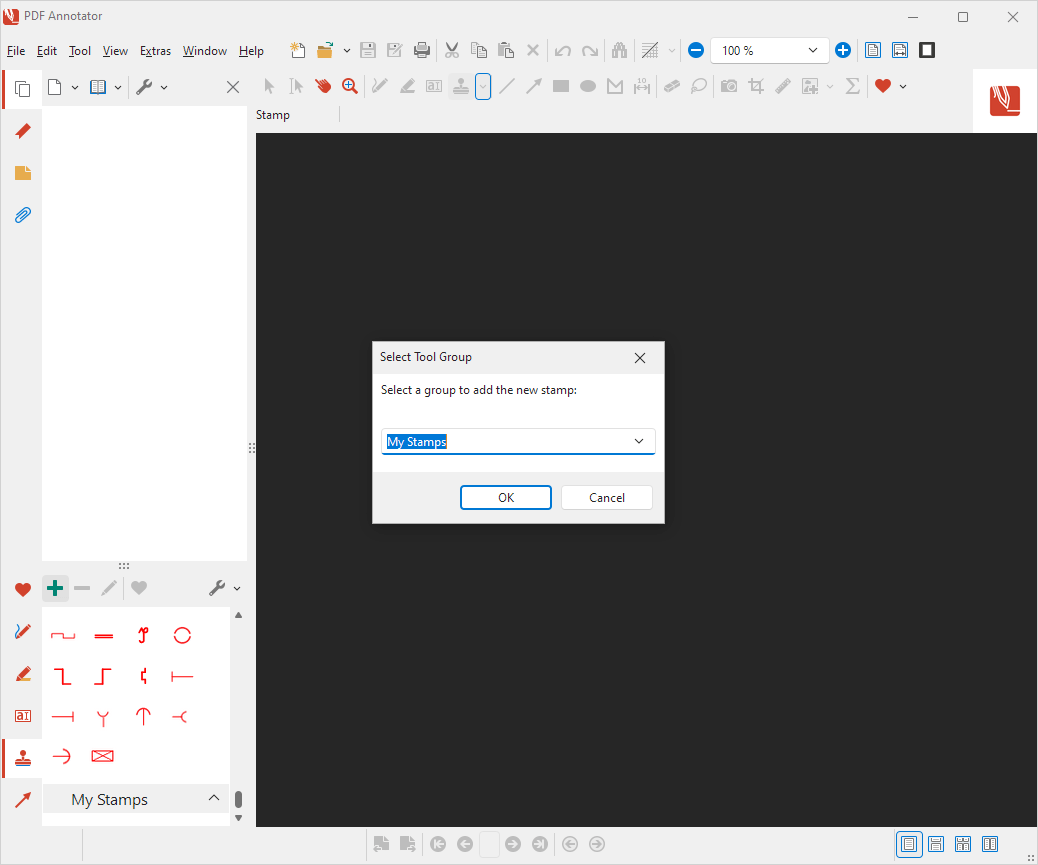
Finally, PDF Annotator asks in the Select Tool Group window which group the new stamp should be added to. We choose our own group "My Stamps" and confirm with OK.
The new vector stamp is now available in the Stamp toolbox.
See the difference for yourself
Let's try out our new stamp right away! We select it in the toolbox and click into a document to place it there. For comparison, we place a stamp next to it that we created from the same logo as a PNG file. At normal size, shown at the top of the picture, both stamps look the same.
Now we switch to the Select tool and drag a corner of each stamp to make them considerably larger. The difference is obvious right away: The stamp made from the SVG file (left) stays razor-sharp, while the stamp made from the PNG file (right) becomes blurry and fuzzy.
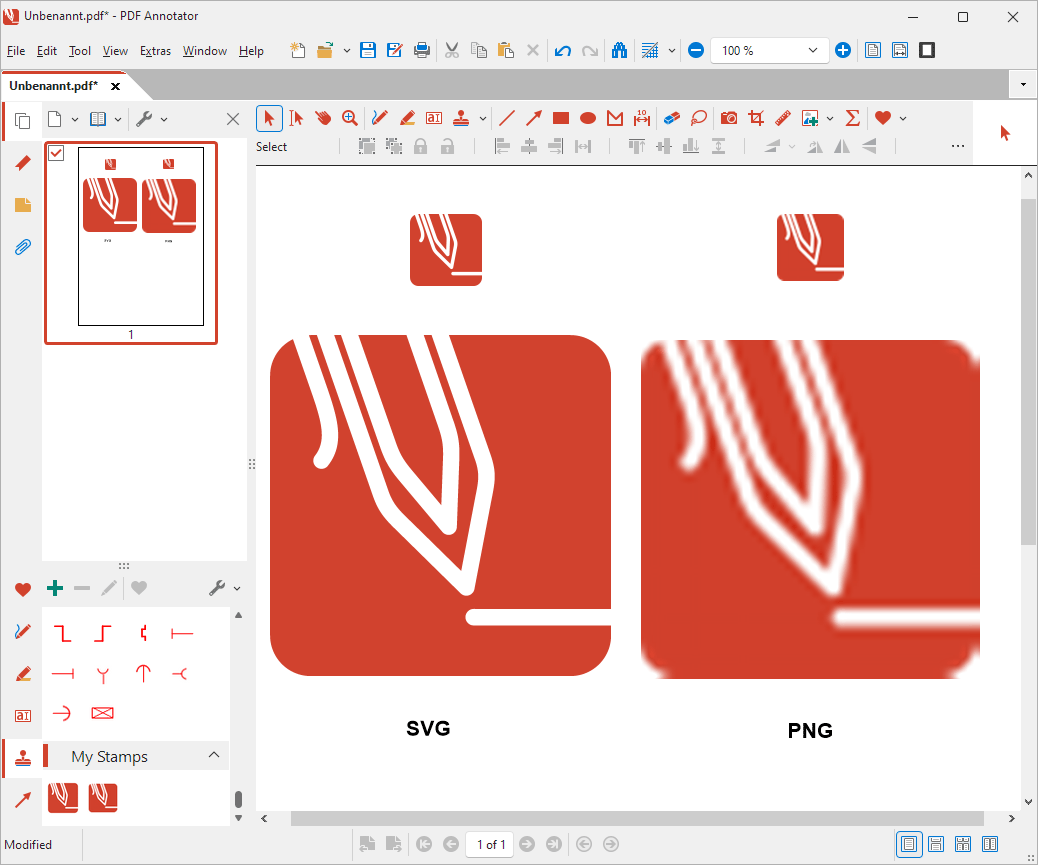
By the way, this applies not only when enlarging stamps on the document, but also when zooming in and when printing: A vector stamp is always displayed in the best possible quality.