How to lock an image to write on top of it
Why would you want to lock the image before writing on top of it?
Well, if you don't lock it, and you write on top of it (or maybe edit or delete some of the stuff you wrote), there's always a chance that you accidentally move or delete the image.
For example, when you want to delete something you wrote on top of the image using the Eraser tool, the eraser might think you want to delete the image, not the text you wrote.
To avoid that, you can lock any object in PDF Annotator.
A locked object cannot be moved, resized or deleted before you unlock it.
Let's give this a try! First, let's open a blank new PDF document in PDF Annotator. Start PDF Annotator, select File, New and choose a blank background. Click OK.
Now, let's insert an image. Click the Insert Image icon on the toolbar to select an image file.
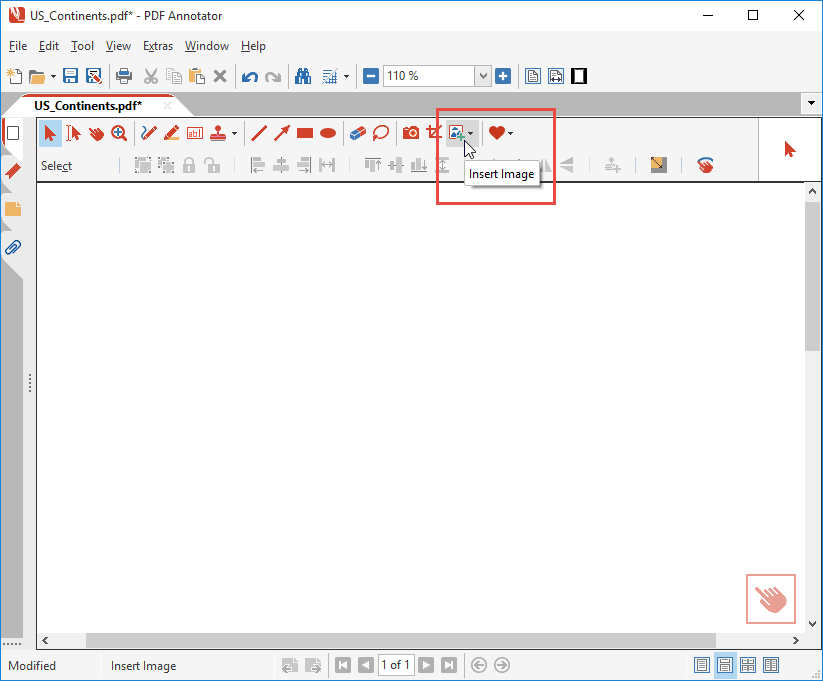
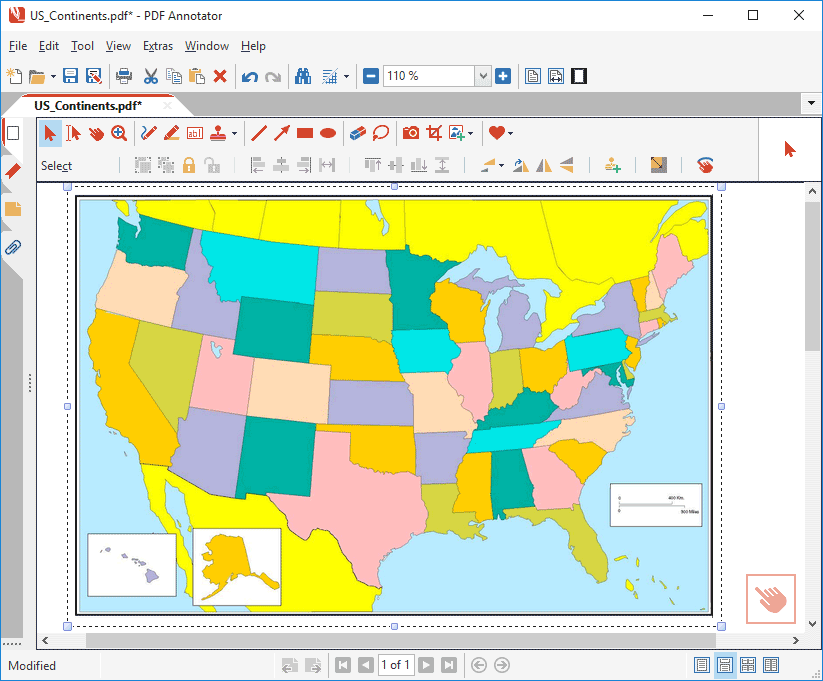
So, we have selected a blank map, which we plan to complete by writing all the states we recognize on top of it.
Please note that you can move the image around, or resize it by dragging on its handles.
Tip: To keep the image's aspect ratio while resizing the image, keep the CTRL key pressed while dragging a handle.
To avoid any more moving or resizing of this image, and to make it kind of a background for writing on top of it, we will now lock it.
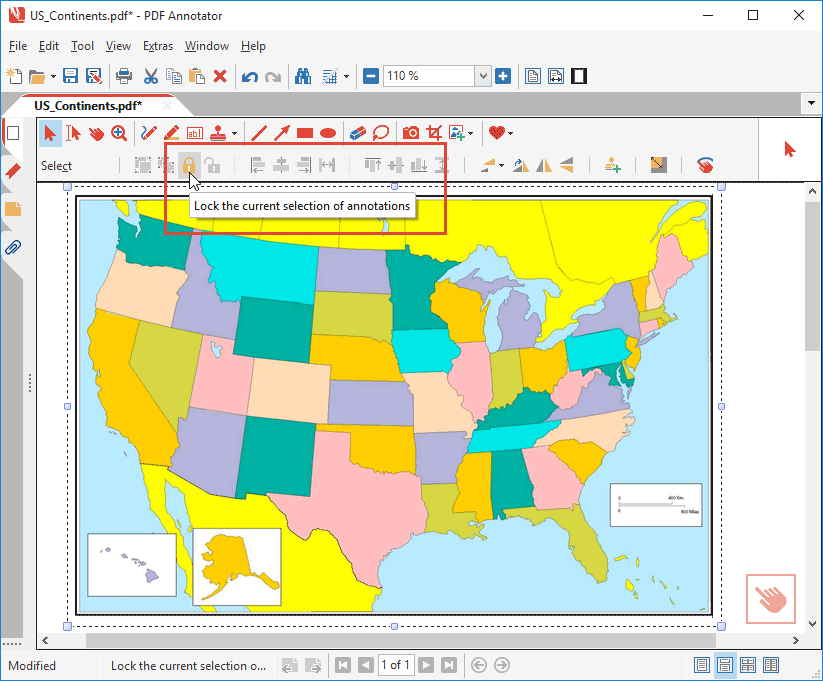
To lock the image, make sure it is selected. It is selected, when the handles around the image are visible. If it is not selected, make sure the Select tool is active on the toolbar above the document, and click the image once to select it.
Now, click the Lock icon on the toolbar above the document.
You will notice that the Lock Icon will be greyed out after clicking it once, but the Unlock Icon will become active instead.
Tip: To unlock the image later, maybe because you now want to delete it intentionally, select the image and click the Unlock Icon.
Now that the image has been locked, we can easily write on top of it. Select the Pen tool and fill in some of the states you may know.

Notice that when you try to use the Eraser tool on top of the image, it will always remain where it is. Only the text you wrote onto the image can be deleted.
Even if you select the image and try to move it, nothing will happen.
You can even press CTRL-A (or the equivalent command on the menu: Edit, Selection, Select All Annotations) and press DELETE (or Edit, Delete) afterwards, and only the text you wrote on top of the image will be erased, but not the image itself.
Summary: Why Lock and Unlock Your Annotations?
When an annotation is locked, it cannot be moved. It is pinned to that location in the document. There are several benefits to this feature:
- The annotation cannot be moved by accident. Even though it may still be selected, it will remain in its current location until you unlock it. This is useful if you have a text annotation, a name or class description for example, and you don’t want it to be moved.
- The annotation cannot be accidentally deleted. Not only does the lock feature keep the location, it prevents the user from deleting the markup. You must unlock the annotation before you can delete it. However, choosing to Remove All Annotations from the Edit menu will remove locked annotations as well.
- You can perform bulk actions without affecting the locked annotation. For example, if you use the keyboard combination Ctrl+A to select all the annotations in the document, it is selected. However, if you press Delete to remove them, all markups will be deleted except the locked ones.