How to create a signature stamp from a scan
Creating a stamp from your scanned signature is pretty easy!
It can be handy to have your signature ready as a stamp in PDF Annotator, so you can place it on documents any time.
Note: If you own a Tablet PC or an external graphic tablet that comes with a pen, we recommend that you use your pen to create your signature, rather than a scan. Follow these steps to create a signature stamp with the pen.
If you don't own a pen enabled device, but you do own a scanner (or print/scan combo device), an easy way to create a signature stamp is to obtain your signature from a scan.
Scanning your signature
Maybe you already have a PDF document that includes your signature. But usually, we recommend to start with blank white sheet of paper, place your signature, and scan that sheet.
Most scanners these days have an option to scan directly to PDF. Use that option, so that you end up with a PDF document containing your signature on a white page.
Now, open the PDF file with your scanned signature in PDF Annotator.
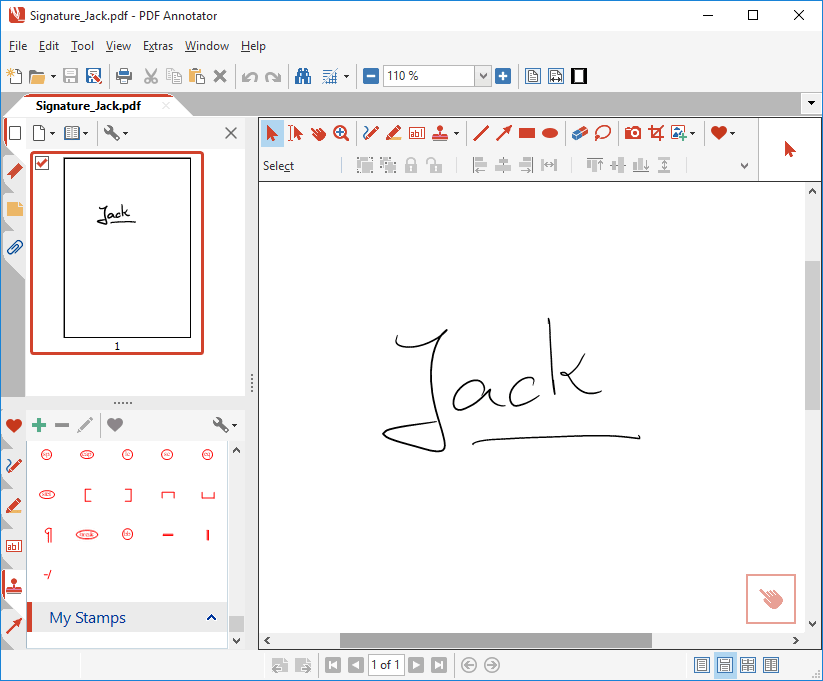
Creating a group in the stamp toolbox
First, we're going to create a group within your Stamp toolbox, where we want to place your signature stamp in. Of course, you can skip this step if you already have one.
Open the Stamp toolbox with a click onto the tab on the left with the stamp icon on it.
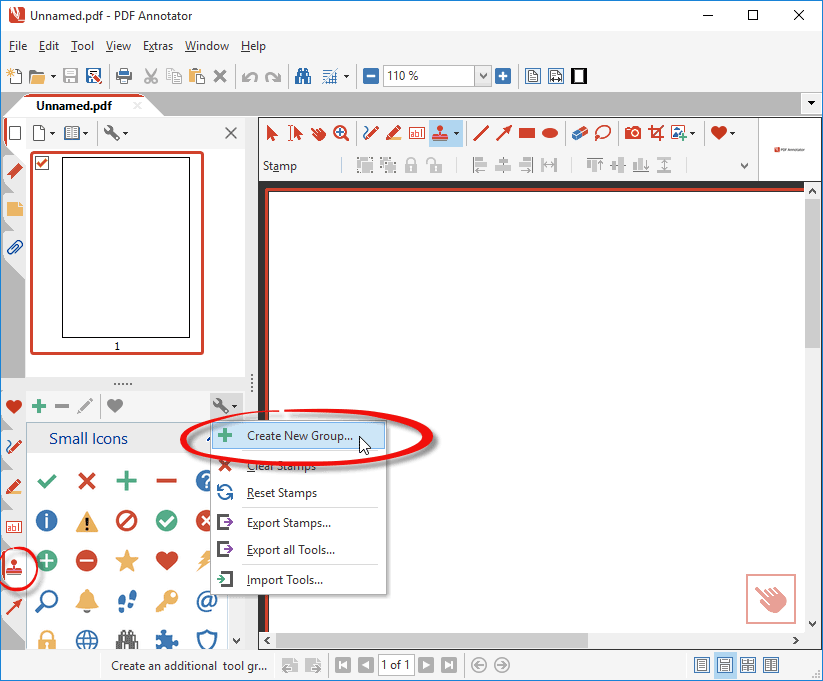
Click the Tool icon on top of the toolbox, and select Create New Group....
Enter a name for your group and click OK.
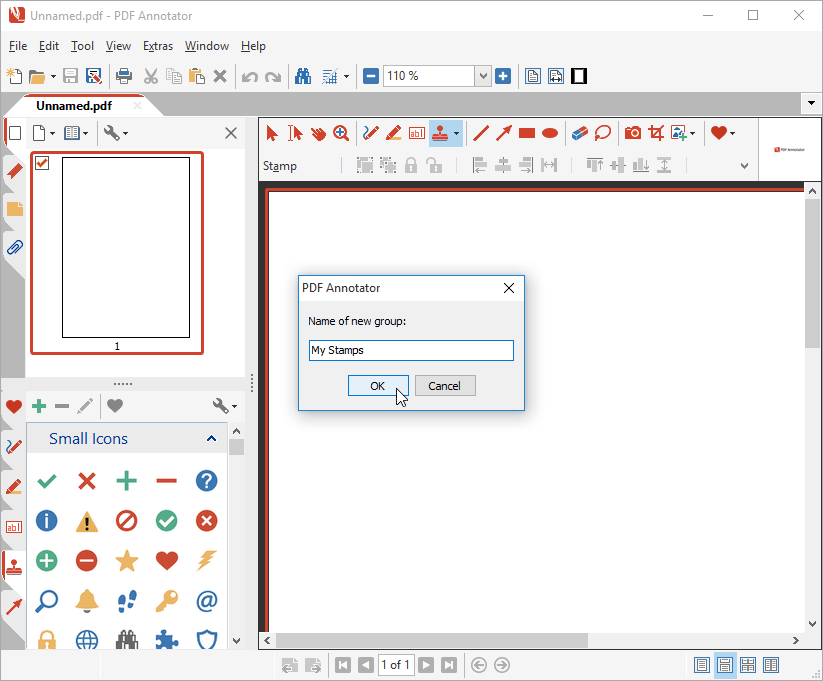
As you see below, the new tool group has been created within the Stamps toolbox. In our example, we chose the name "My Stamps".
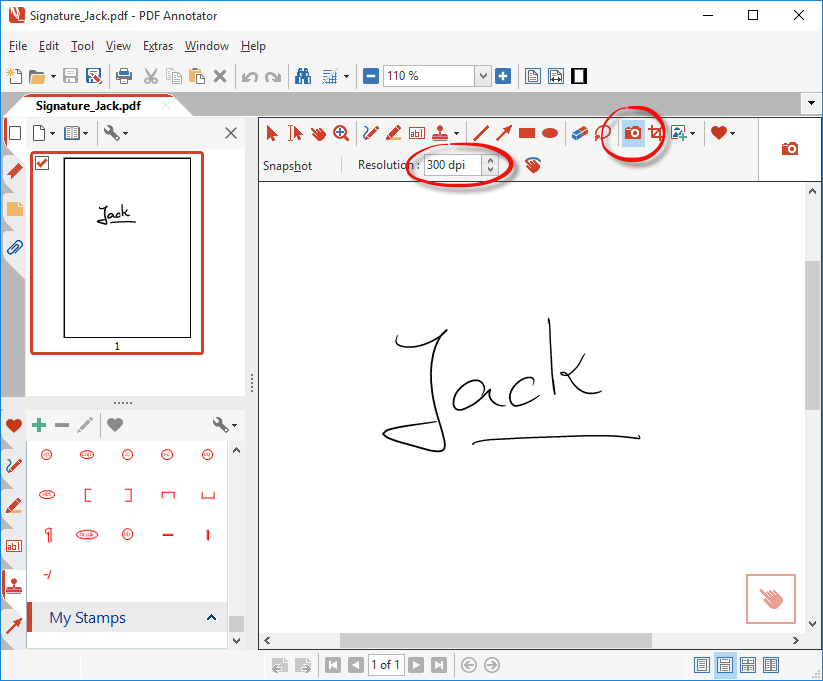
Taking a snapshot and creating a stamp from it
Now, make sure that your signature is fully visible in the document window, and activate the Snapshot tool.
To have a high resolution image of your signature, set the Resolution to a value of maybe 150 dpi or 300 dpi. Without this setting, your image would be captured in a very low resolution (just like the screen resolution, which is typically pretty low, compared to a printer's resolution), and would look very jaggy later on. When you use the Snapshot feature for other tasks later, remember that you changed this setting - as you may want to change it back to a lower resolution, then.
Now, select a rectangular area around your signature. It should cover your whole signature.
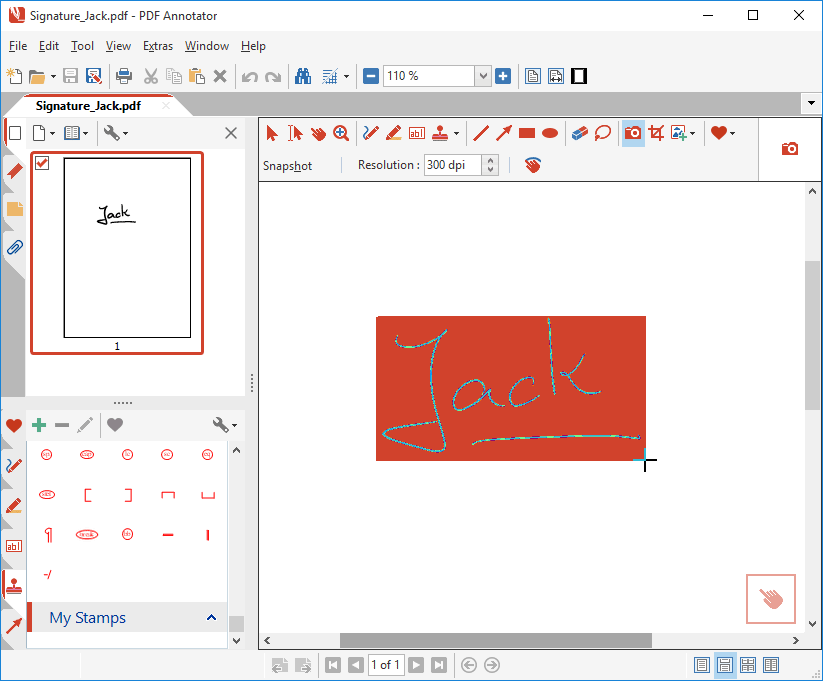
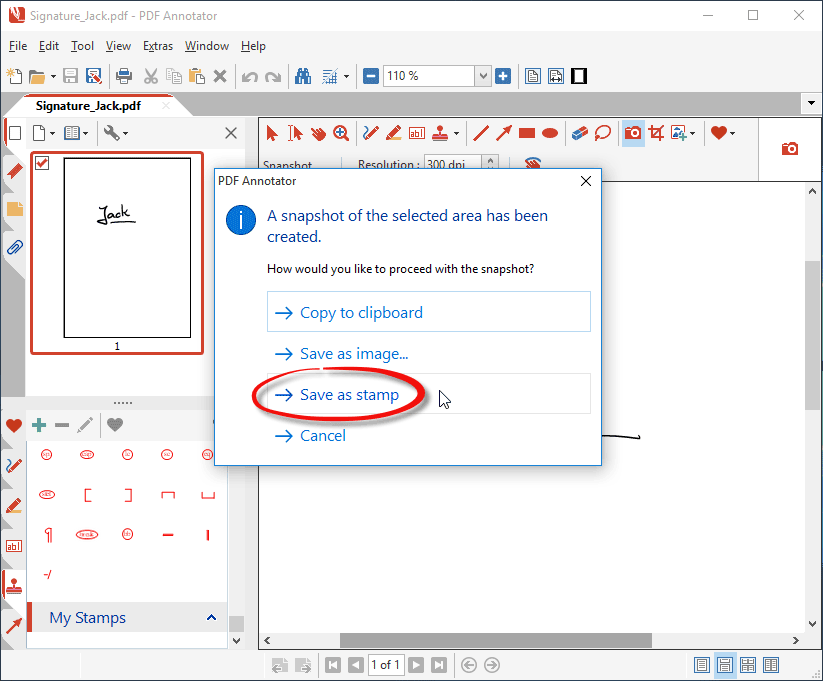
When you release the mouse button after selecting your signature, a selection window will pop up.
Select Save as Stamp.
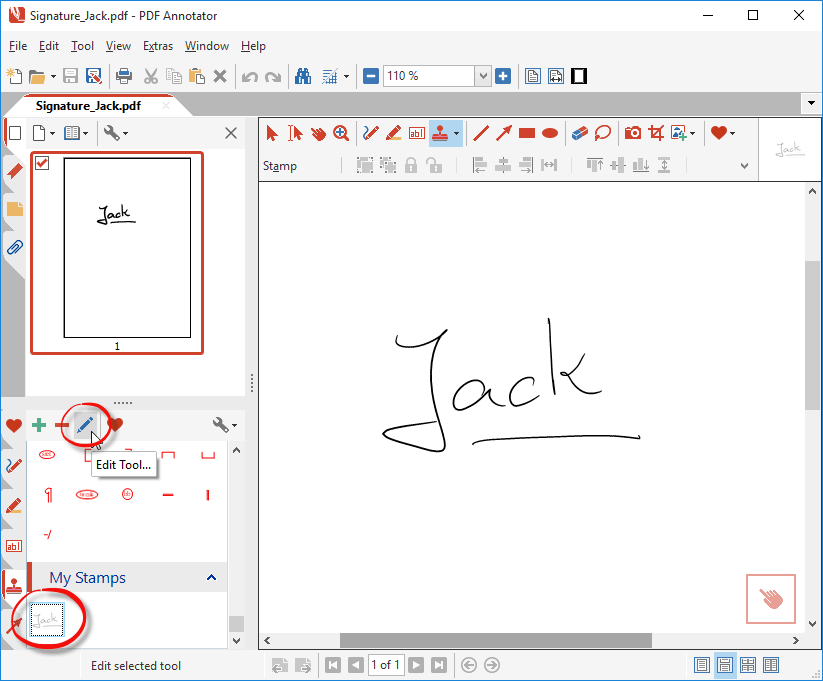
Check out the Stamp toolbox with your My Stamps group. It should now contain your newly created stamp! (Maybe you need to scroll down in the toolbox to see it.)
Making the stamp transparent
Your signature is currently still on white background, which would cover anything behind it when placing your stamp.
So, we want to edit your signature stamp to make it transparent.
Click the stamp in the toolbox.
Then, click the Edit Tool button on top of the toolbox.
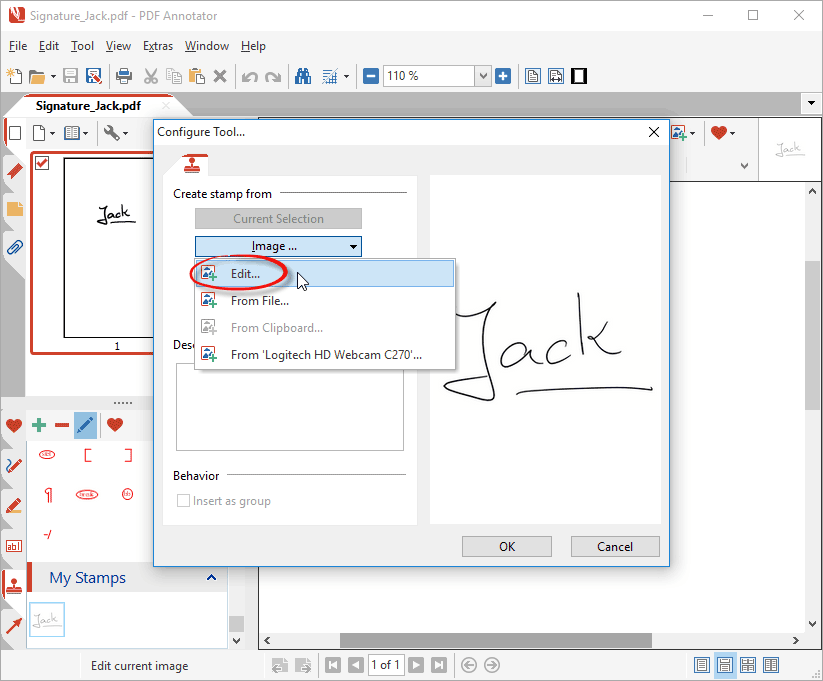
Click Image, Edit to open your stamp in the PDF Annotator image editor.
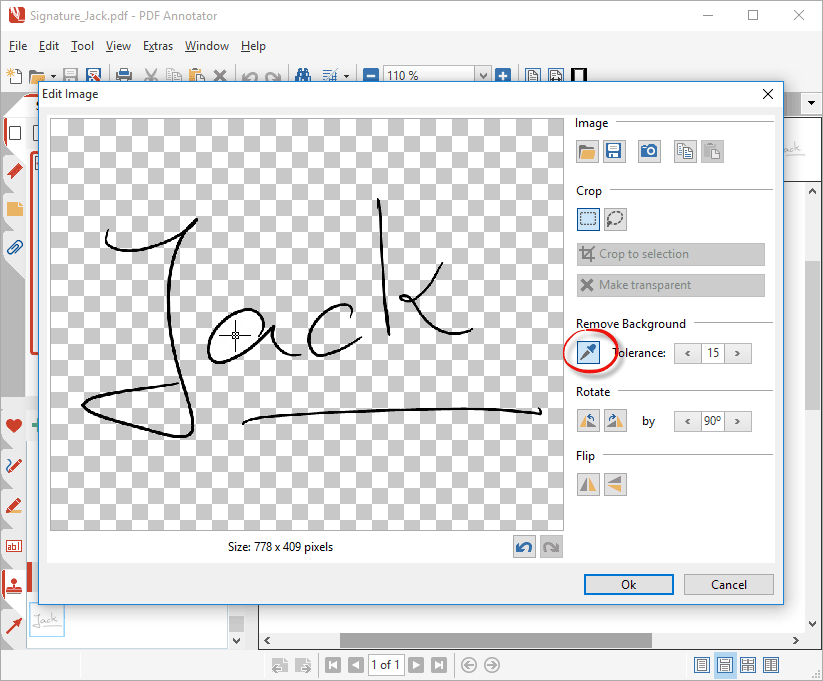
We're now going to use the Remove Background tool to make parts of the image transparent.
Let's click the Pipette tool, and then, click all the areas in our image, that we want to make transparent.
In our example, I first clicked into the white background, then I clicked into all white spots surrounded by letters, until everything is transparent.
When you're not happy with what you clicked, you can always use the Undo and Redo button below the image to get back to your previous steps.
You can also play with the Tolerance value on the right side of the Pipette button if you wish to make the tool more or less sensitive. A higher tolerance will make larger parts of the image transparent. A small tolerance will only make parts transparent which have a very high color similarity to the spot you click with the pipette tool.
Of course, we could make use of more options in the Edit Image window to modify the image.
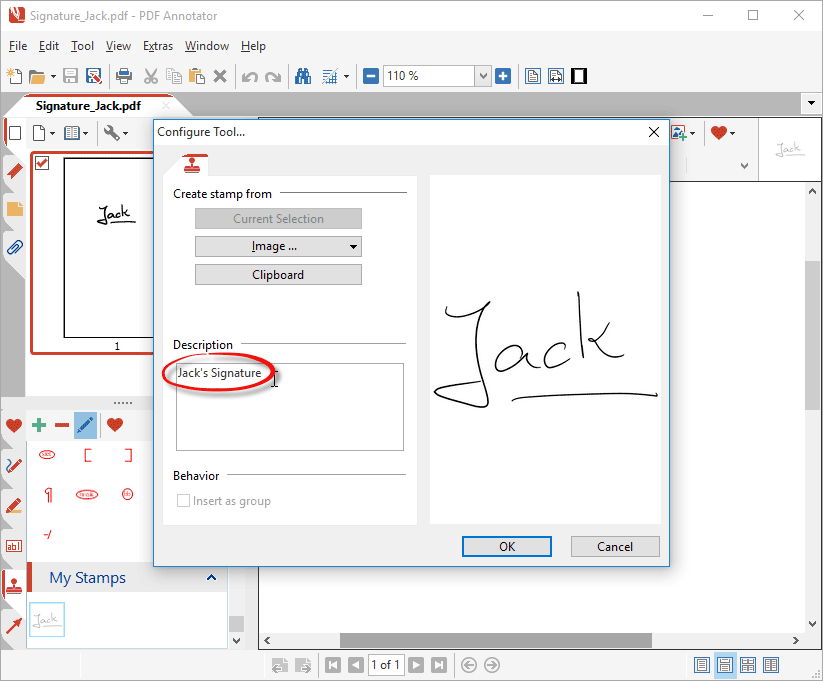
When done making the image transparent, clicking OK gets us back to the Configure Tool window.
Before we press OK again to finally create the stamp, we can enter a Description for the stamp. This will later make it easier to identify the stamp on the toolbox, as the description will get displayed as a small tooltip when you hover of the stamp in the toolbox.
Let's try the new stamp right away! Just click the stamp in the toolbox, and click somewhere into the blank document to place it. Et voilà! Here it is!

As you see, I applied the stamp twice to visualize its transparency.