Creating Signature Stamps
How to Create Signature Stamps in PDF Annotator
In today's article, we are going to discuss how to make a customized signature stamp in PDF Annotator. This will allow you to sign a document the same way that you use a rubber signature stamp on a paper document. The signature will have a transparent background; therefore, it won't hide any of the underlying text or graphics. We will look at two methods. The first method will use the inking feature of PDF Annotator and the second one will use the "import picture" feature. We will also look at adding text to the signature.
Method 1 - Inking
You can use your favorite inking method to create a signature stamp. This works well on tablet PCs, but you can use a graphics pad to ink a document on a laptop or desktop computer as well. First, you will need to create a new, blank document in PDF Annotator. The quick way is to click File, New on the PDF Annotator menu. You will get a dialog box asking for the size; just click OK.
Now you can use your stylus or graphics pad to write your signature. If it looks too large, don't worry. It can be resized later. Depending on your inking expertise, you may or may not want to use the Pressure Sensitivity option. Try it both ways and see which signature looks the best for you.
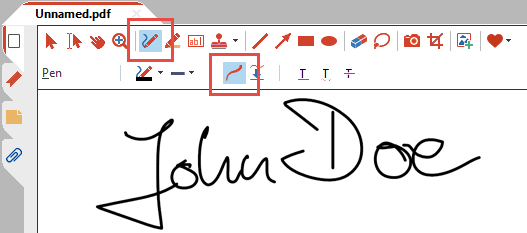
Once you have inked your signature, select all of it using the lasso select tool.
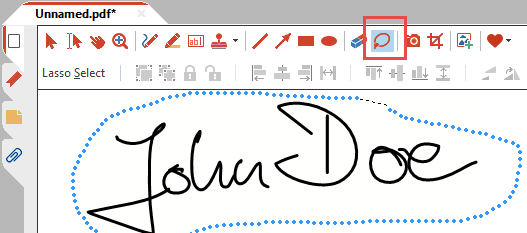
Make sure that you get the entire signature in the lasso; it will change to a selection box when you are done. You can resize the signature if you desire; just be sure to have the option to Resize keeping aspect ratio checked.
Now, right-click on the selection and choose Selection, then click on Save selection as stamp.
You will get the stamp configuration dialog, with a preview of your signature at the right. You might want to add a brief description, such as My Signature, because this will show up as a tool tip when you pass your cursor over the stamp.
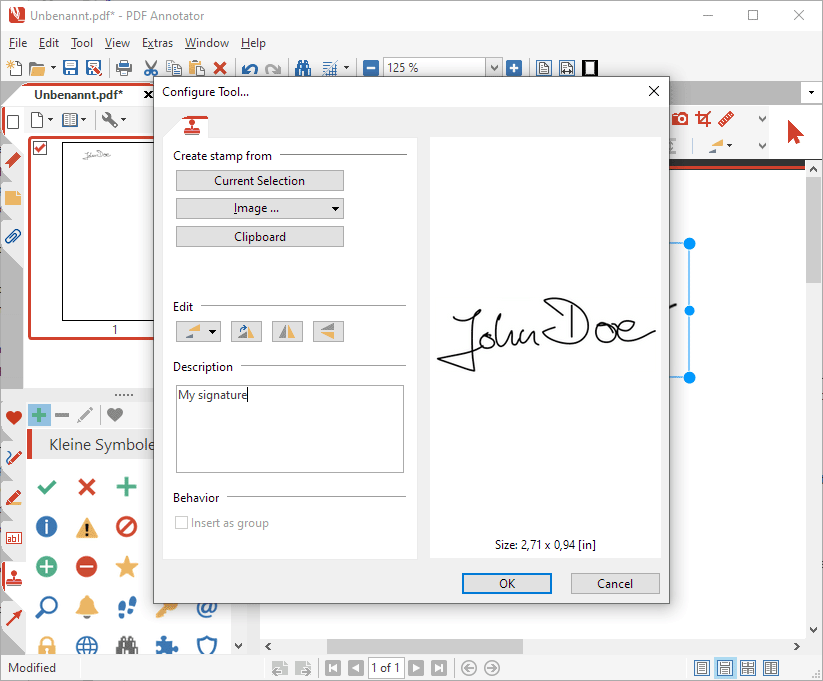
Click OK and your new signature stamp will be added, ready for use.
Adding Text
Before we look at the second method, let's create a second stamp by adding some text to the original signature. While the first signature stamp is great for signing forms, you might want to add some text when signing a different kind of document, such as a letter or memo.
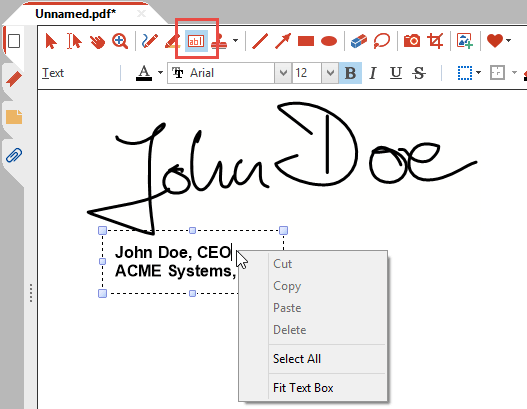
Select the text toolbox and choose a transparent configuration too. You can change the font and size, if desired.
Create a text box under the signature and type in your information. When finished, right-click on the text box and choose Fit text.
Select the signature and text box together with the lasso select tool and save this as a stamp. Add descriptive text in the configuration tool to differentiate this one from the first.
Remember that you can always resize your signature; therefore, it is not necessary to make a stamp for every occasion or document.

Method 2 - Importing a picture
You can also create a signature stamp by importing a picture of your signature that you have previously scanned.
To do this, first open the stamp toolbox by clicking on the stamp tab on the left side of the PDF Annotator window.
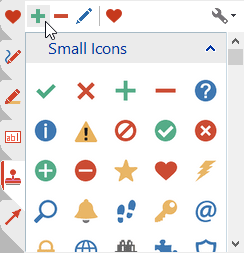
Now click the Plus icon at the top of the stamp toolbox.
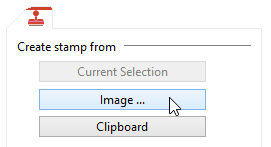
In the Configure Tool window, press the Image button. Now you will get a box to browse to your files. Choose one, click OK, then enter a description, click OK again, and your stamp will be ready to use.
However, there is one thing of which to make sure before using an image. The background of the image needs to be transparent or it will cover text and graphics in the document you are stamping. The best format for transparency is PNG; you may have to edit it in a graphics program before you insert it into the document.
You can use the image method if you are unfamiliar with inking, don't have inking capability or are unsatisfied with the inking results. However, creating the signature by the first method is much easier.