Creating and Using PDF Templates
Stationery for Your PDFs
PDF templates are like stationery for your PDFs: Create your own templates, and use them for any new PDF documents, as well as when adding new pages to PDFs.
In our example, we're going to pull in our company stationery as a PDF template for re-use in PDF Annotator.
So, let's see how this works.
Creating a template based on an existing PDF document
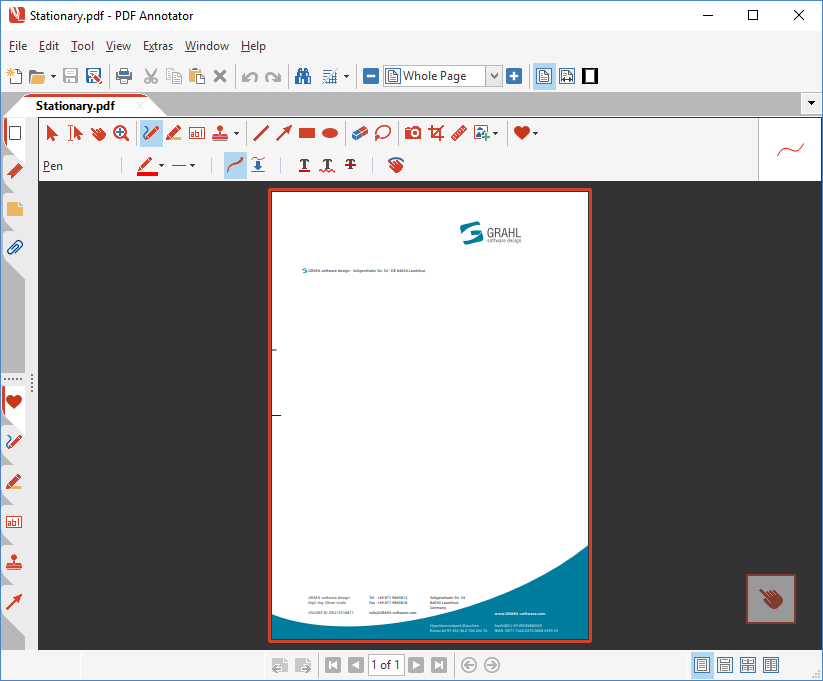
First, we're going to open the PDF file we want to use as a template.
(Of course, if we don't have our template ready as a PDF, we can create it from another source using the Print to PDF Annotator printer, or from scratch using the File, New Document command.)
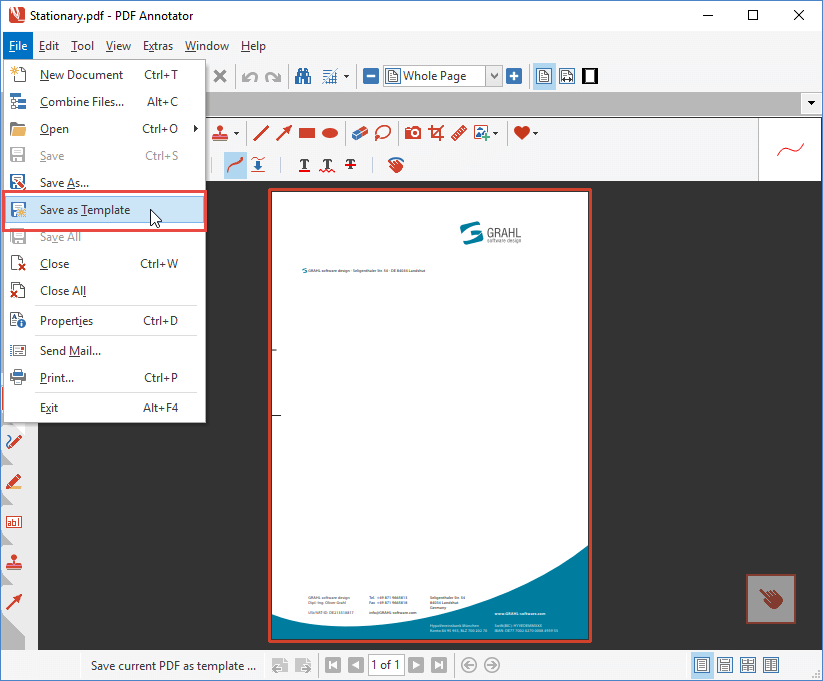
After opening the document in PDF Annotator, we choose File, Save as Template from the menu.
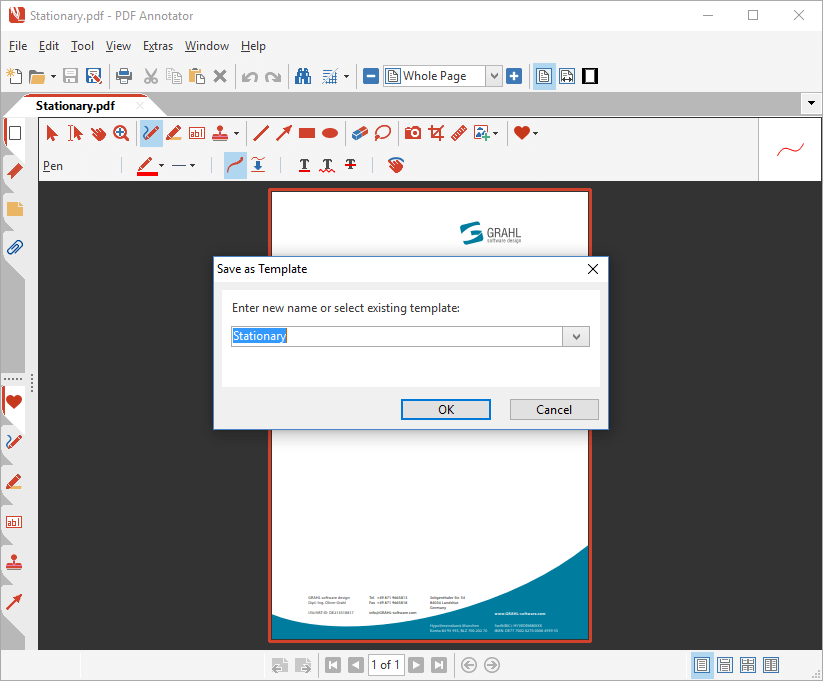
We can fill in a name for the template, or just leave the default.
If we want to override an existing template, we can also do so by clicking the dropdown button on the right, and selecting the template from the list.
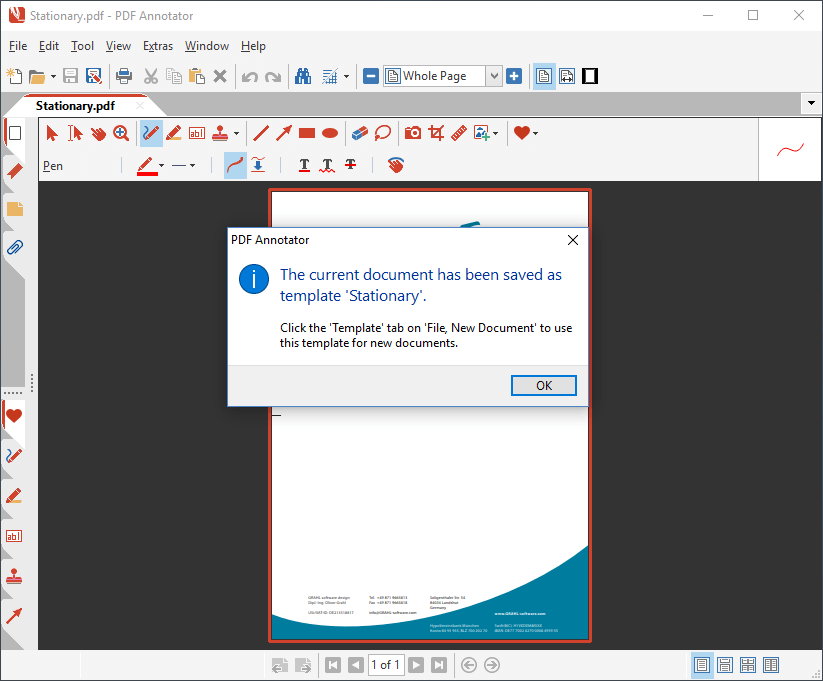
Now, PDF Annotator will automatically create the template for us.
Please note that a template can only consist of a single page. If you apply File, Save as Template on a document containing multiple pages, the currently displayed page will be used for the template.
Using a PDF Template
Now, let's go ahead and use that template we just created.
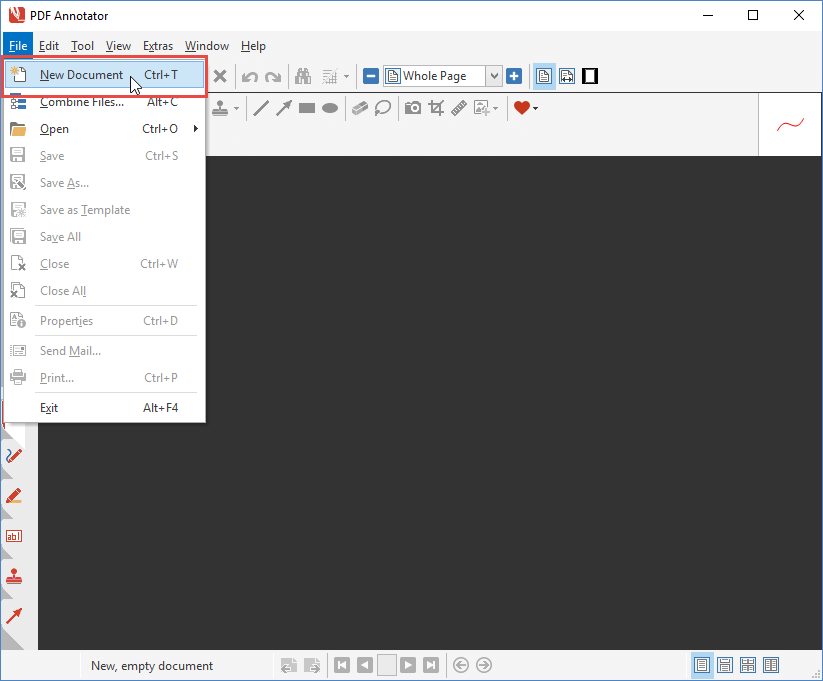
Select File, New Document to start a new document.
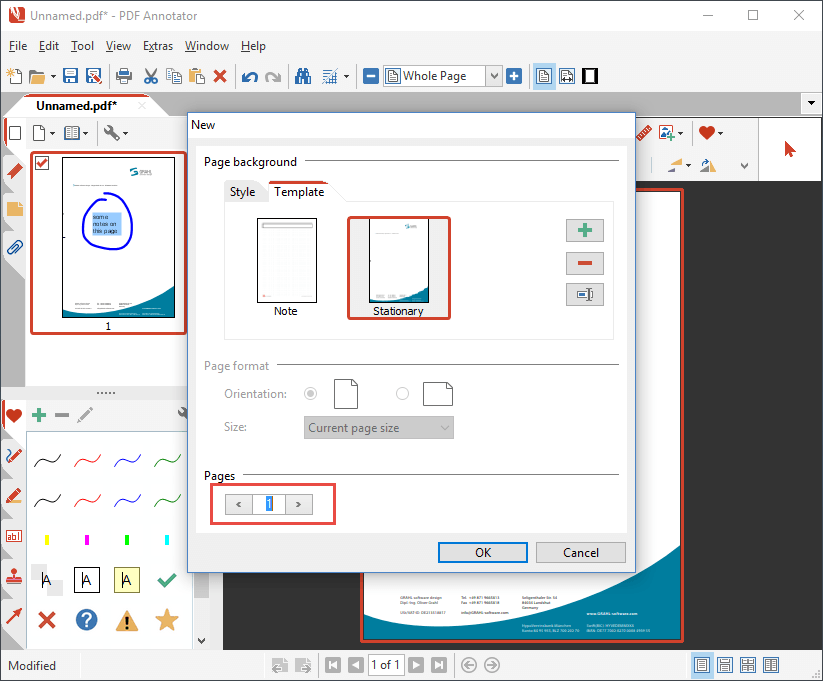
On the New dialog, the Page background section offers two tabs: Style and Template.
Select the Template tab to find a list of templates.
Typically, you will find the Note template that comes preinstalled with PDF Annotator, along with all templates you created by yourself. In this example, we find the Stationery template we just created.
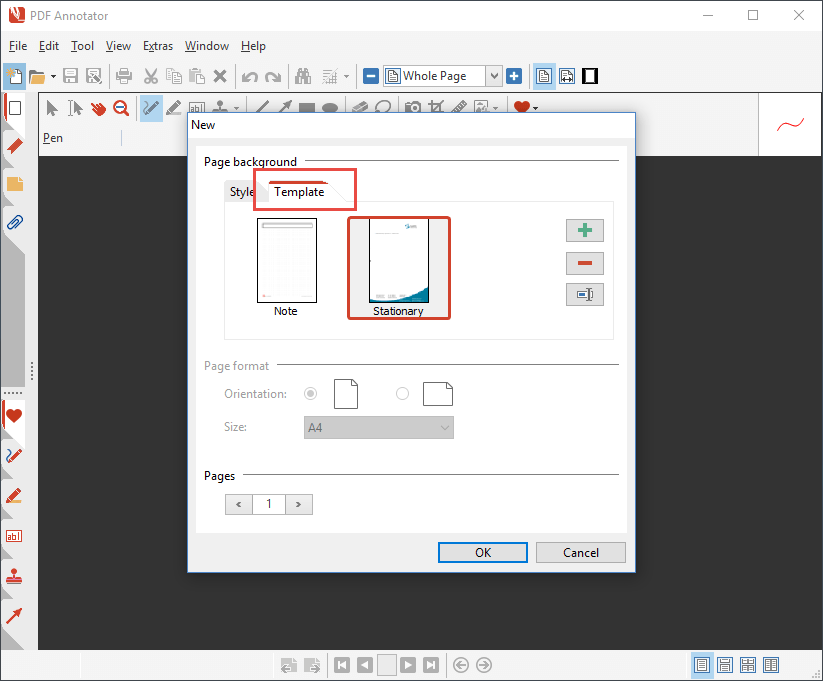
Click the template to select it.
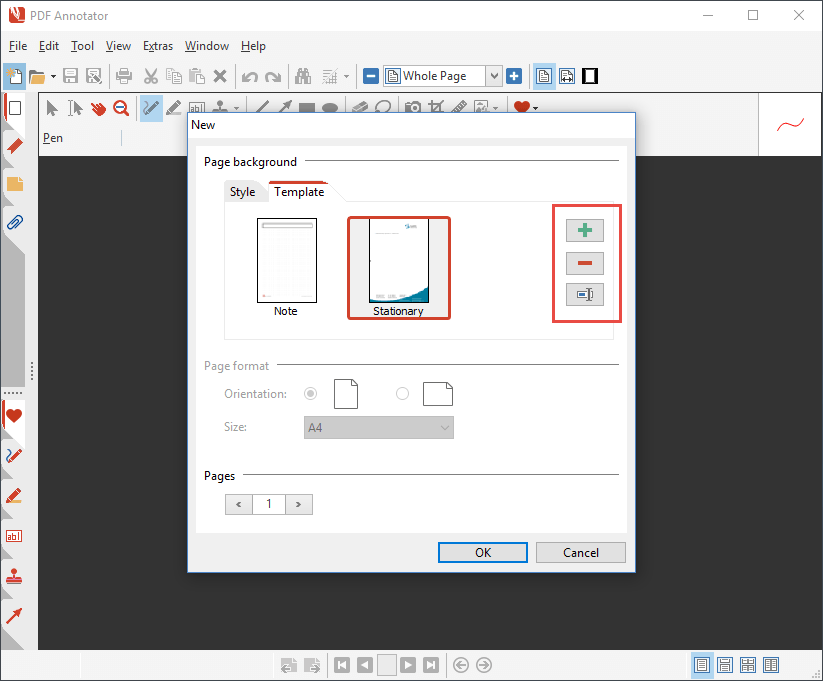
On a side note: On the right, you can also find some buttons to organize your templates:
- The + (Plus) button lets you add another template by just selecting a PDF file from disk (an alternative way to create a template based on a PDF, similar to the one we chose in the beginning).
- The - (Minus) button lets you delete the currently selected template.
- The Rename button lets you rename the currently selected template.
Since you just want to use the template in this example, just select it, and click OK.
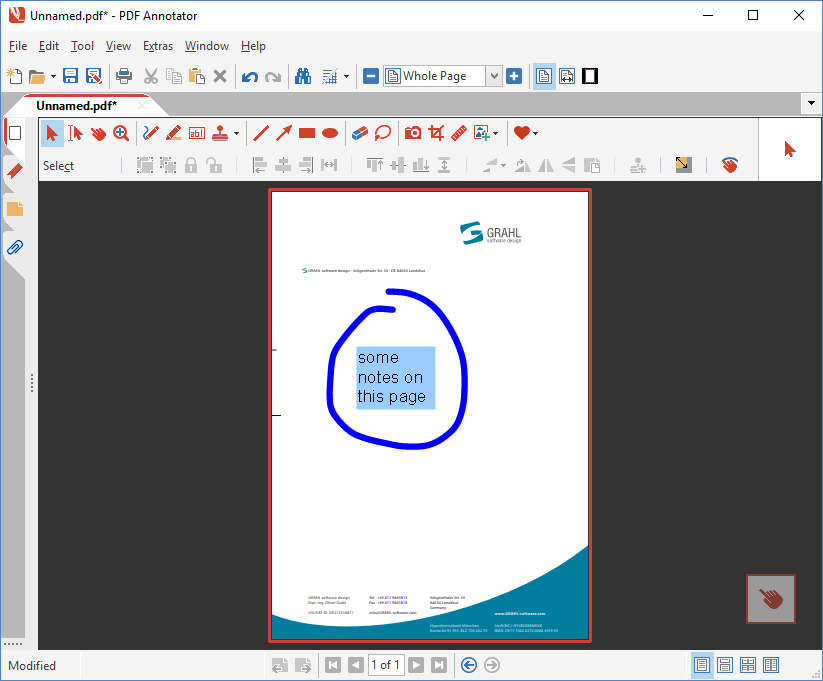
PDF Annotator will immediately create a new document for you, based on the template you chose.
You can now start adding content to the new page, for example by using the pen and text tools.
Adding more pages to a template based PDF
When you need more space, you can add additional pages to the document.
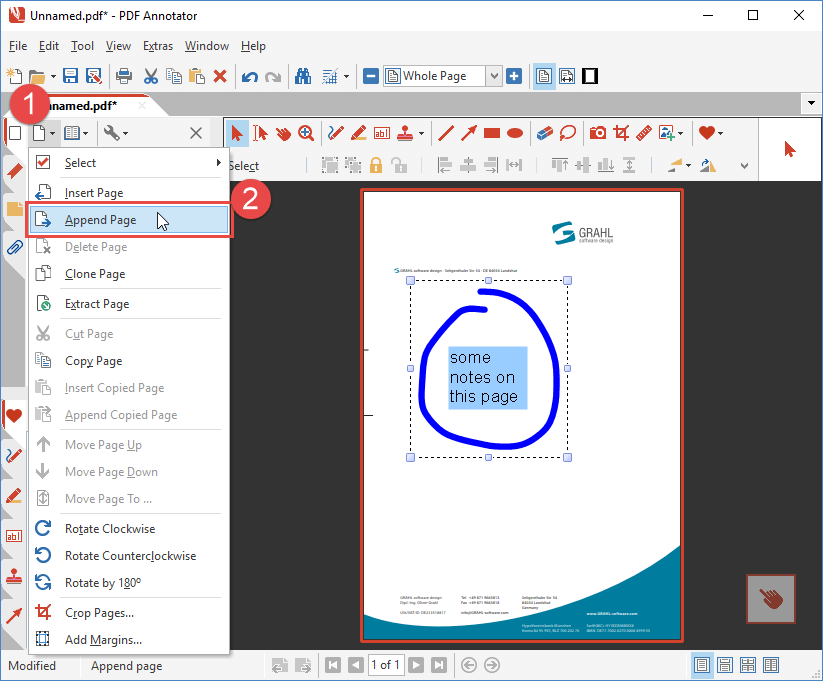
To add an additional page, either click Edit, Page, Append Page from the main menu, or right click anywhere in the document to pull up the context menu, or (as in the example below), open the Pages sidebar by clicking onto the tab on the top left, then click the Page button and choose Append Page from the menu.
This will once again bring up the New dialog with our template preset. So, PDF Annotator remembered the template we started this document from, and automatically suggests to use the same template for subsequent pages. Clever, eh?
Please note that you can always add more than a single page by increasing the number in the Pages box.
Also, you don't have to use the same template for additional pages. You can also choose a different template, or even add a blank page by going back to the Style tab under Page background, or choose another style, like some ruled paper.
After clicking OK, PDF Annotator will add another new page to your document, using the same template as initially chosen.
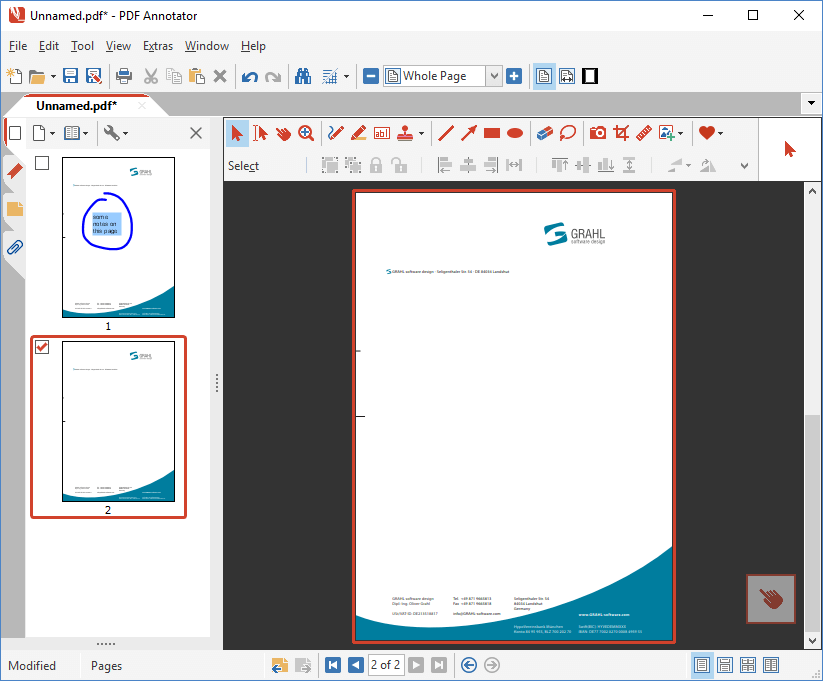
So, we created a template from a PDF with a single click. We used that template for a new PDF document. And we finally learned that PDF Annotator remembers the template originally chosen, when adding pages to the document.
Now, go ahead, and create your own templates!