Taking Snapshots of Parts of a Document
Take a snapshot of any part of a PDF, and re-insert it for annotation
Whenever some part of a document - a paragraph, an image, or a combination of both - requires comprehensive annotation, you might want to make a copy of that part and paste it to a blank page, being able to add mark-up and comments around that fragment. The Snapshot tool gives you that opportunity - and more.
How to take a snapshot
You'll find the Snapshot tool next to the other tools on the toolbar.
Even faster, you can press the H key to switch to the Snapshot tool.
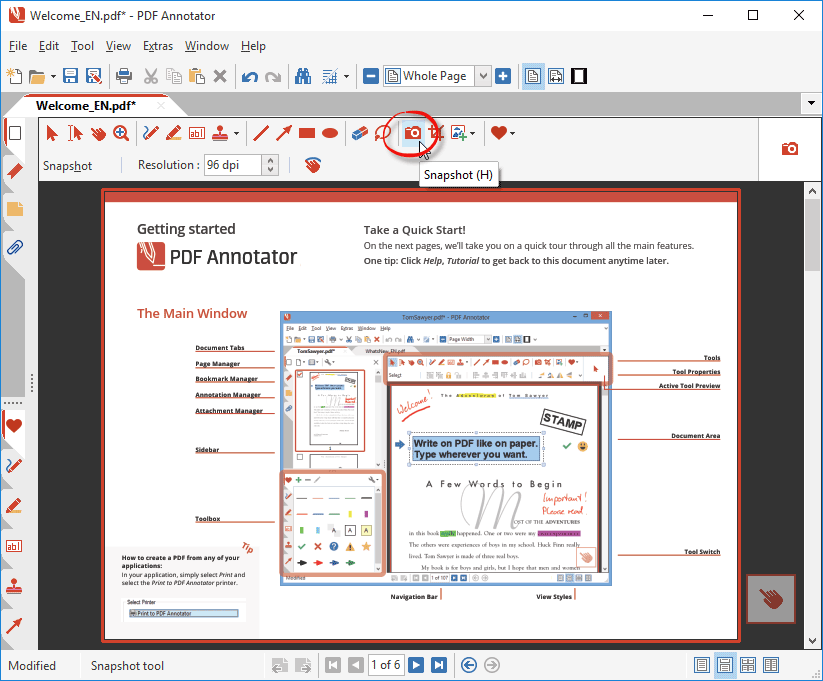
After activating the snapshot tool, your cursor will become a cross line, so you can start selecting a rectangular area from your current page while keeping your left mouse button pressed.
The selected rectangle will be highlighted in red.

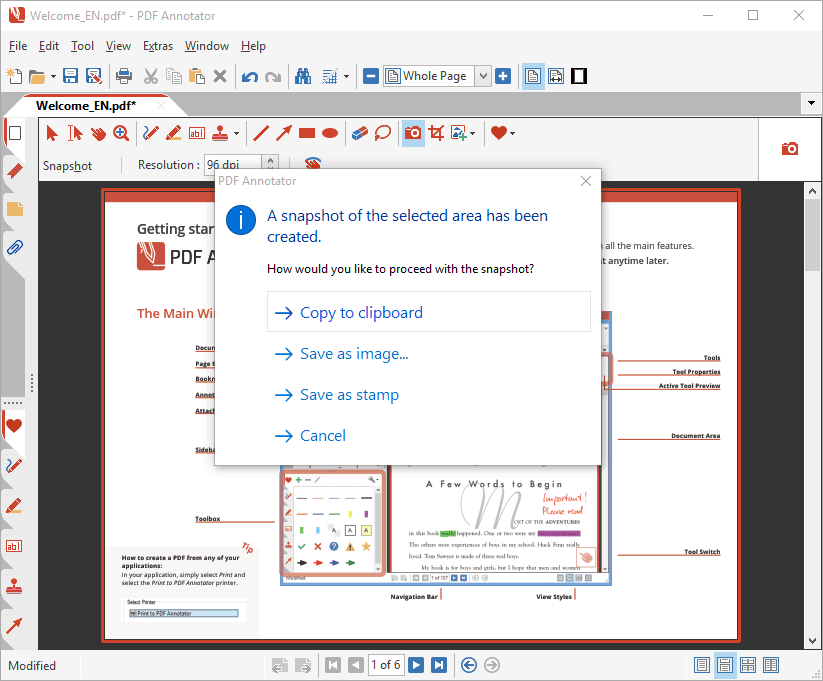
Now, release the mouse cursor. PDF Annotator will ask you how to proceed with the snapshot taken.
You're given the alternatives to copy the snapshot to the clipboard, save the snapshot to an image file, or to create a stamp from it:
Saving snapshots as images
By selecting the second option (Save as image), you'll be queried a file name and image format to save the snapshot to.
Save as image offers all important image formats, like PNG, JPG, GIF, BMP and many more, to save your snapshot.
Some image formats even allow additional settings to be set through the Extended button on the Save as image dialog.
Creating stamps from snapshots
By selecting the third option (Save as stamp), PDF Annotator will automatically create an image stamp based on your snapshot.
The newly created stamp will be immediately available in your Stamps toolbox, and can be reused as often as required by just placing it into any document.
Copying snapshots to the clipboard
The first option might probably be the most used one: Copy to clipboard. Your snapshot will be copied to the clipboard as an image, and you'll be able to paste it into any other application, as well as into PDF Annotator.
Pasting snapshots into documents
If you want to add annotations around the snapshot you've taken, you will probably need some extra space.
To find that space, you can either...
- scroll to a free region in your document,
- insert an additional page (Edit, Page, Insert Page), or
- create a blank new document (File, New).
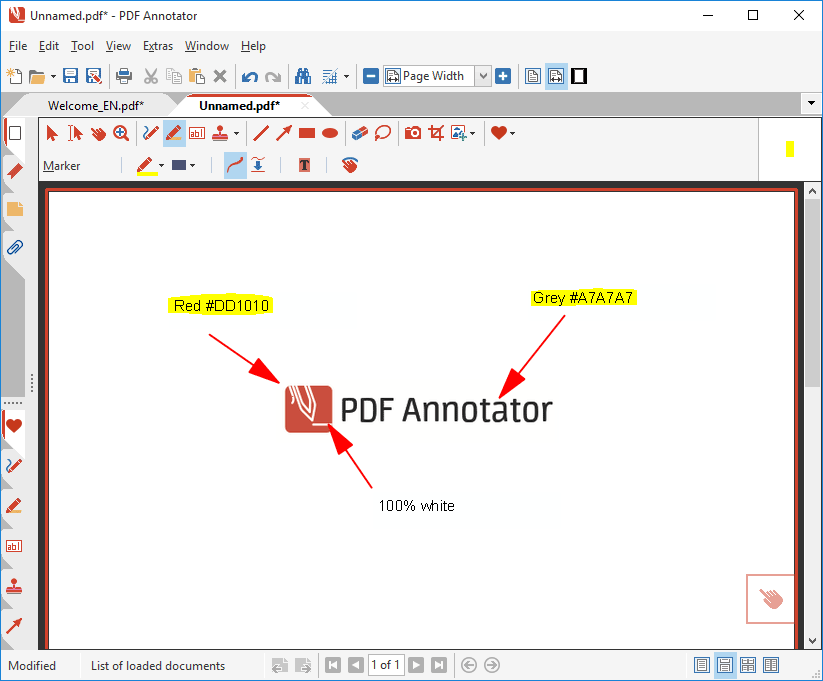
Next, paste the graphic from your snapshot there by pressing CTRL-V (Edit, Paste). Then, move it to a center position.
Now you've got enough space to add annotations of any kind:
Keep in mind that you can also paste your snapshot into other programs, not only PDF Annotator.
For example, you could paste snapshots into Word documents, or into an image editor for further processing.
Increasing image resolution
As you have learned by now, snapshots are images - like photos taken of your document.
Any image has a resolution (a size in pixels), and images with a low resolution may look a little more blurry than images with a higher resolution.
High resolution images will result in larger file sizes, though.
You're probably familiar with that dilemma when taking photos with a digital camera.
If you want to increase your snapshots' resolution, you can do so before taking the snapshot.
Just increase the resolution option in the toolbar above the document.
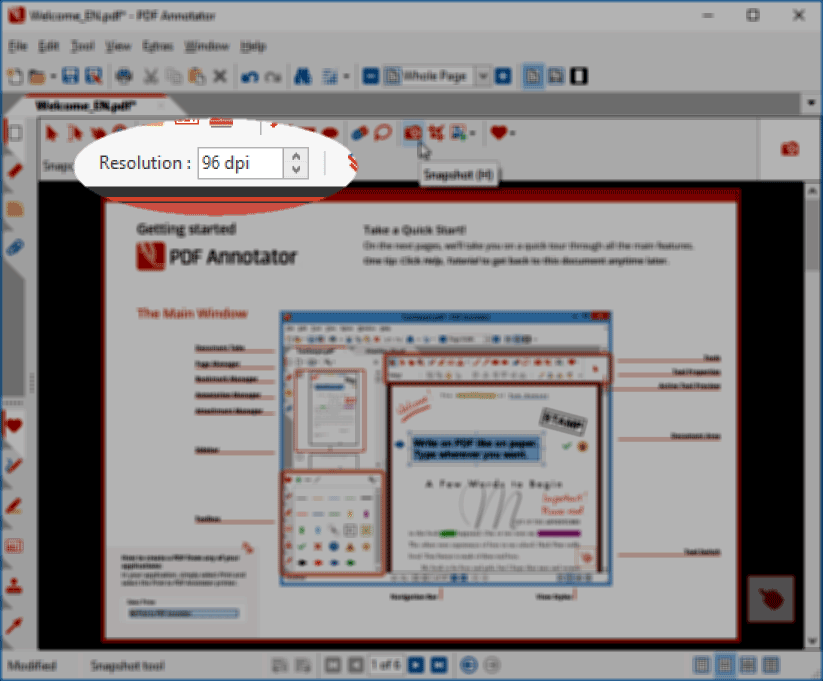
By default, this value will be set to the screen resolution of 96 dpi, so that your snapshot will have exactly the same quality as you see the document on your screen.
A higher resolution will result in a sharper and more detailed snapshot.
But keep in mind that a very high resolution can result in really huge image, or PDF files.
We typically recommend a maximum resolution of 150 dpi or 300 dpi.
In the example below, we have taken the same snapshot with 96 dpi, and with 600 dpi.
After pasting both into a blank new document, they first both look like the same.
Well, they both are the same size, but they have a different resolution.
Zooming in unveils the difference: The high-dpi image is way more sharp and detailed than the low-res one.

When you don't zoom in, you will still notice this difference when printing - as the printer can display a much higher resolution than your screen.