How to create a coordinate system stamp
If you need coordinate systems frequently, create your own stamps for them!
As a student, teacher or researcher, you probably draw a lot of coordinate systems as part of your work, or in your math or science lessons.
How would it be if you had a set of pre-drawn coordinate systems, which you could position with a single click, and scale to the size you need?
In this article, we'll show how you can draw a (very basic) coordinate system, and create a stamp from it.
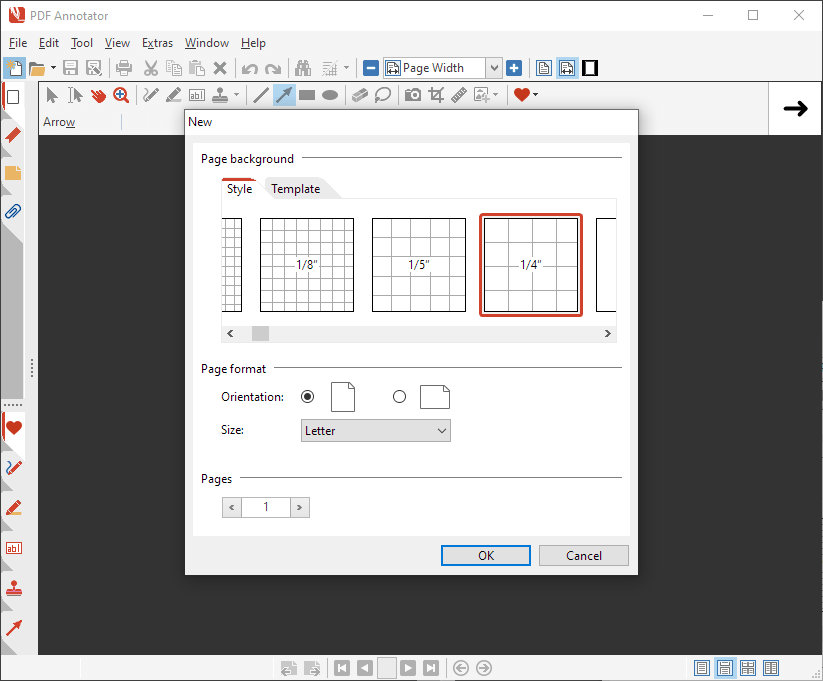
Firstly, we need a blank new page where we can draw our template coordinate system on. To create a blank, squared page, click File, New and select a Style. The squares will help us to draw the coordinate system.
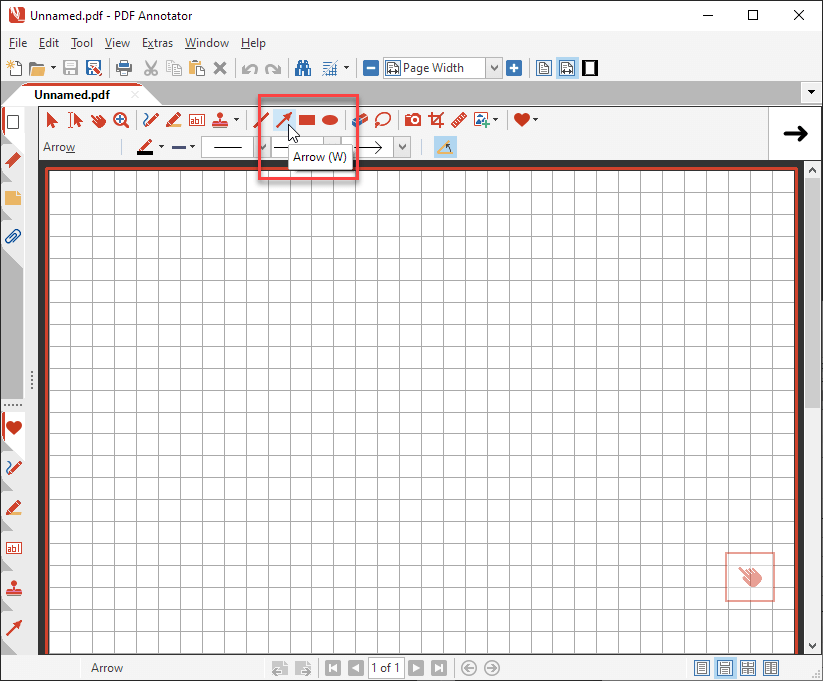
In the next step, switch to the Arrow tool by clicking the tool icon in the tool bar.
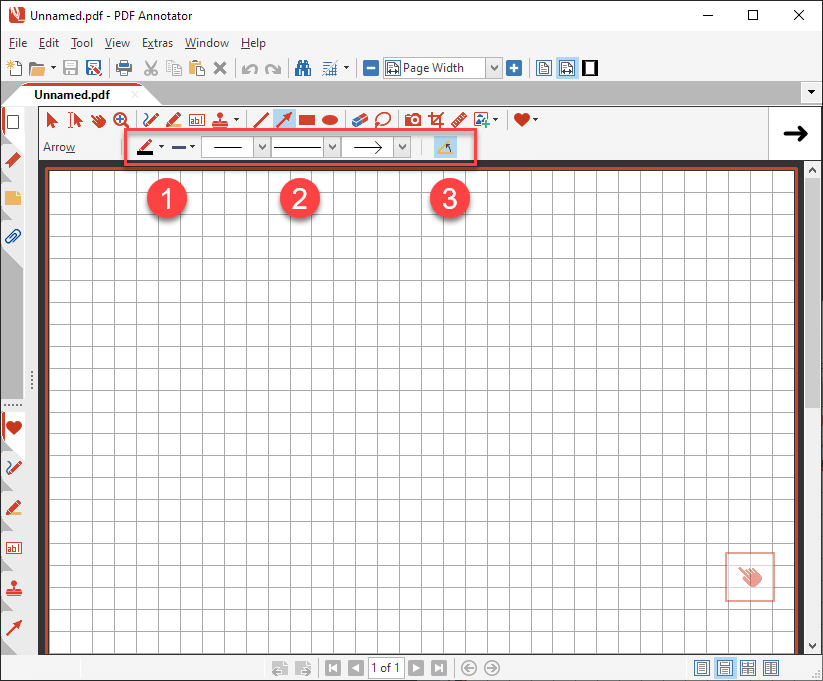
Now, set up the arrow tool properties by selecting the desired Color and Width (1). For the Arrow Tails and Line Style you probably want to use a regular end, solid line, and an arrow (2).
We also recommend to enable the Snap Arrow option (3), which will help us to draw perfectly horizontal and vertical lines. Keep in mind that you may want to disable that option again, later. Hint: Alternatively, you can keep the SHIFT key pressed while drawing the line. This will temporarily enable the Snap Arrow option.
Now we can finally draw the first arm ...
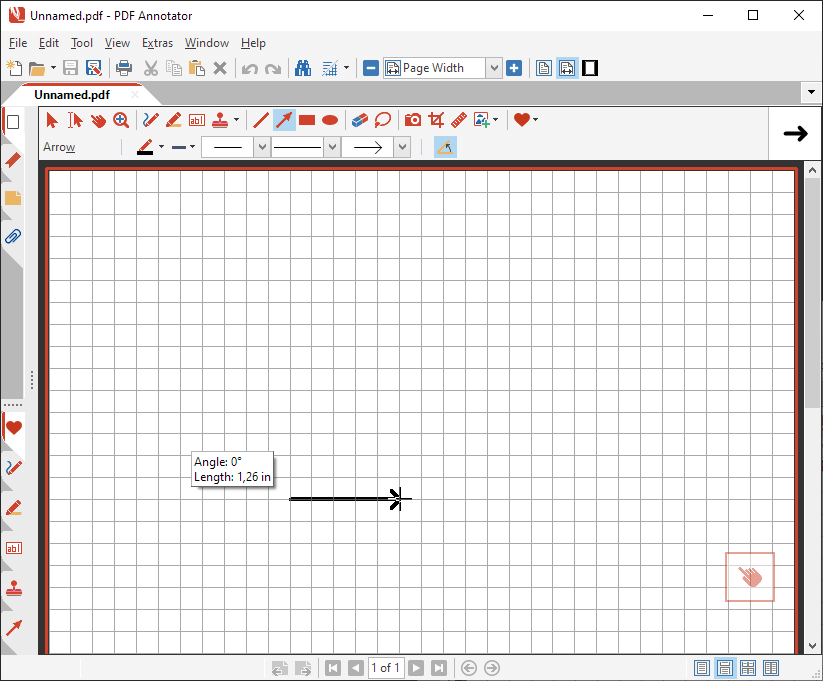
... and the second arm of our coordinate system.
Make sure that both arms have equal lengths.
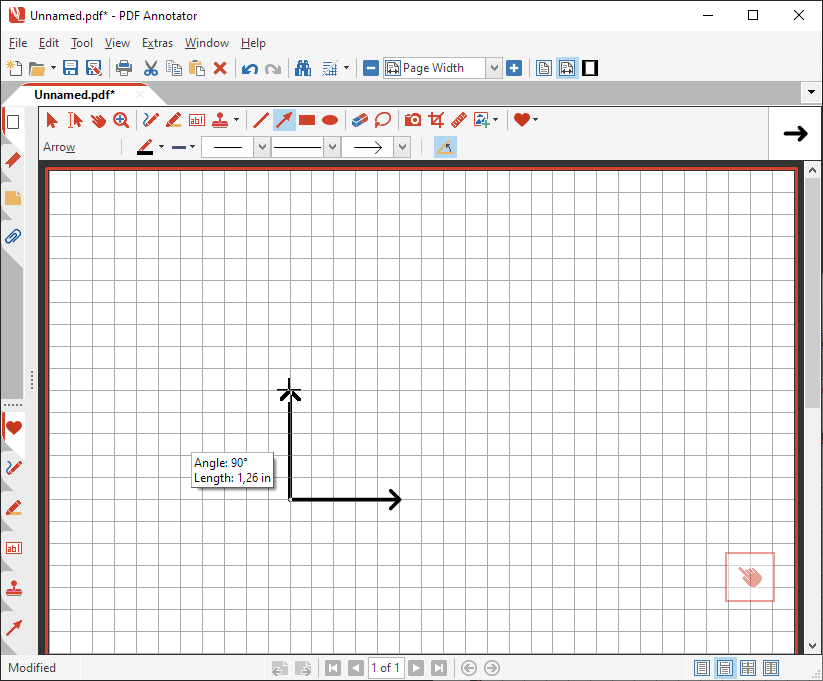
For our simplified example, we will only draw those two arms. Of course, you could add tick marks or titles as well.
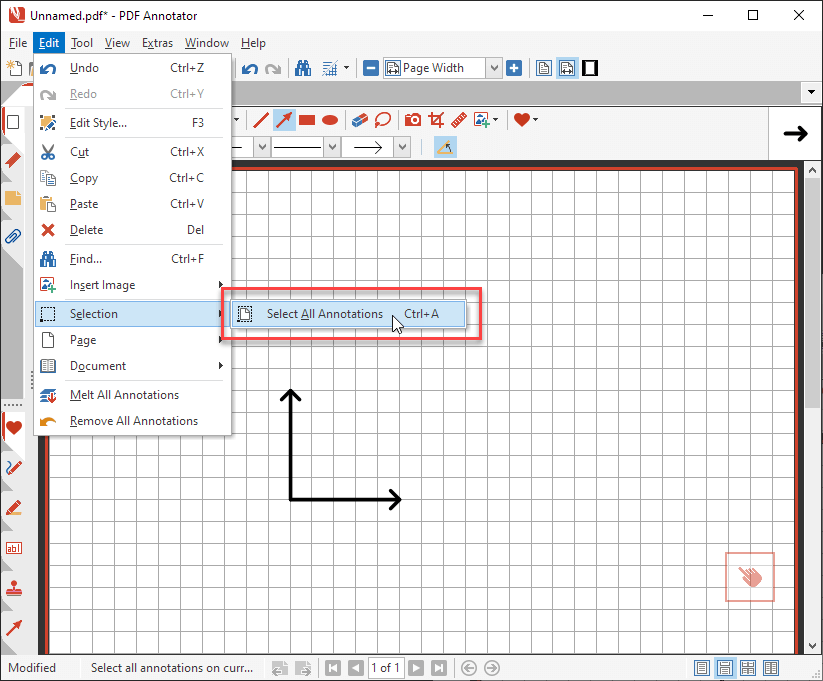
Once your're happy with the result, press CTRL+A or choose Edit, Selection, Select All Annotations from the menu.
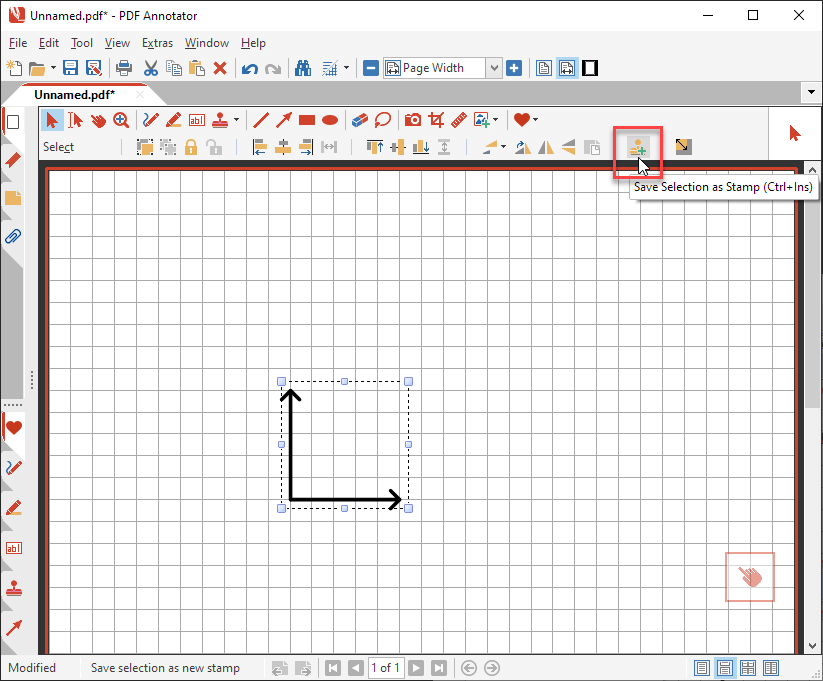
Now press the Save Selection as Stamp button on the toolbar.
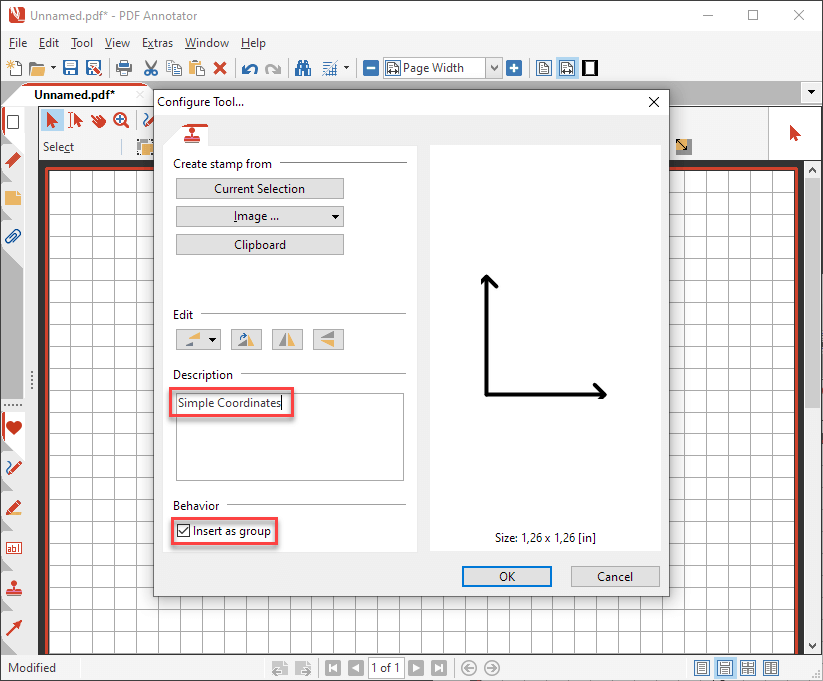
In the Configure Tool window, enter a short Description for the new stamp, and make sure that the Insert as group option is checked. Confirm with OK.
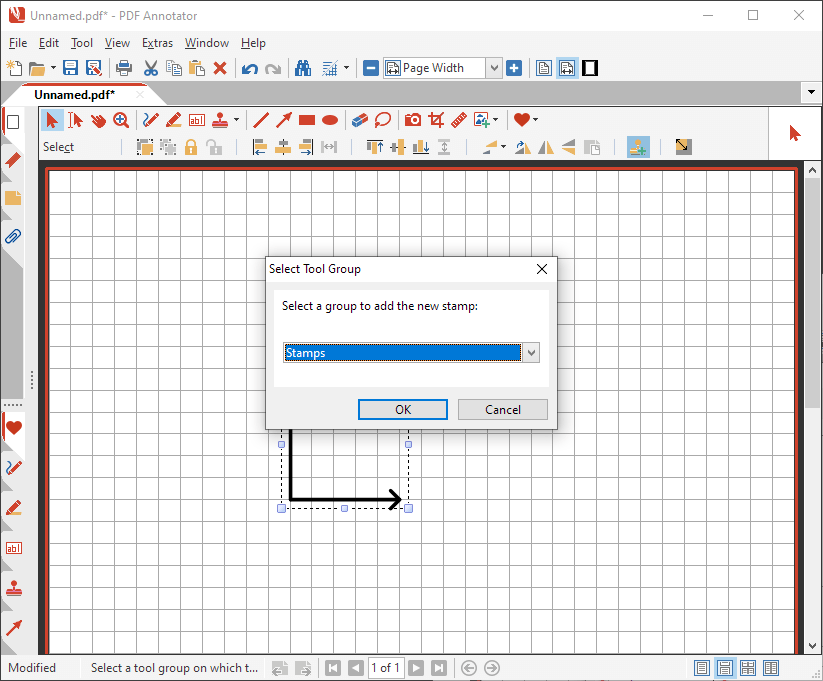
In the next screen, select a Tool Group.
You can move the stamp to a different group in the Stamps Toolbox (click the Stamp tab on the bottom left to open the toolbox) later. You could also create a new group named "Coordinate Systems" there.
To keep this article short, we'll just add our new stamp to an existing group, though.
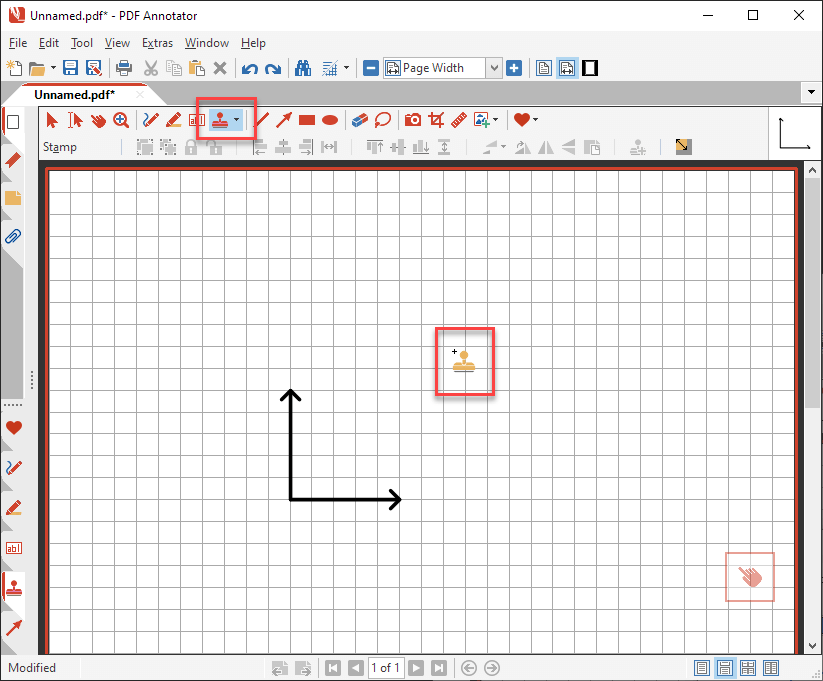
So, we're done! Let's go ahead and try our new stamp.
The Stamp tool should already be active, so you can just move the mouse pointer anywhere in the document, and click to place your stamp.
After having placed your stamp, you can move it to the exact desired position, and you can also resize it to your needs.
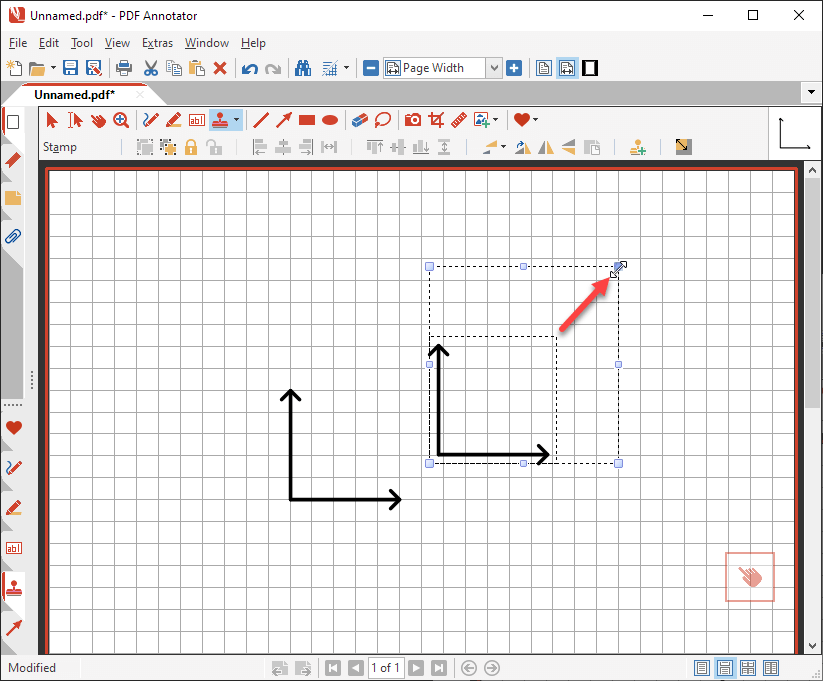
That was easy! Now it is up to your creativity to create the coordinate system stamps you need.
