Cover & Reveal Content Step by Step
How to prepare a lesson and reveal the solution step by step
As a teacher using PDF Annotator, you can prepare the slides for your class as PDF, cover parts of it (for example the steps to the solution of a maths problem), and reveal those parts one by one.
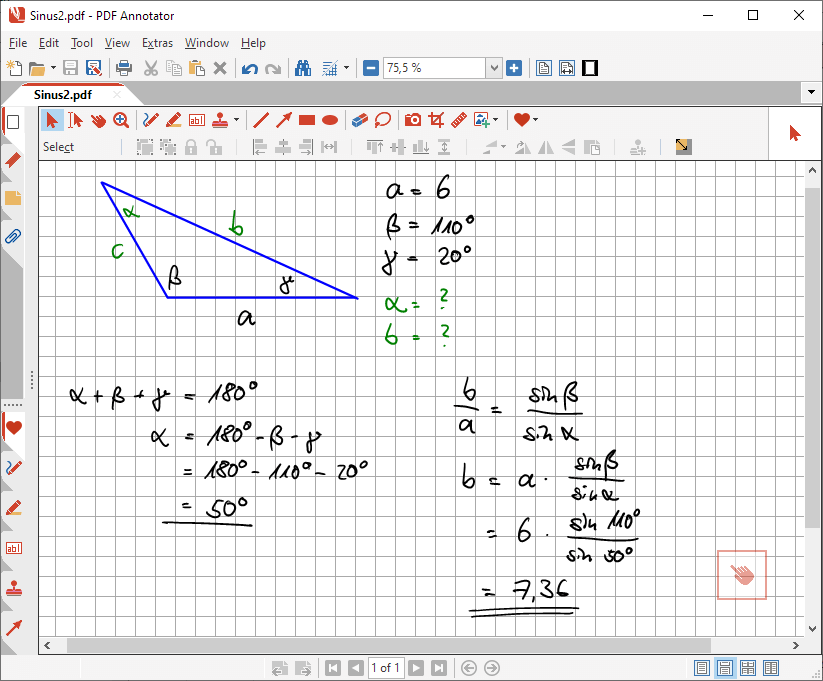
Let's look at this example.
This maths problem covers the sine rule.
While the first half of this prepared slide introduces the problem, the second half shows the steps to solve the problem.
Of course, you don't want to show the solution too early, so you want to cover it, and reveal it step by step while you work through the problem in class.
Covering parts of a slide
Our plan is to cover the solution with opaque rectangles.
While we work on this slide, we want to avoid accidental changes to the prepared content.
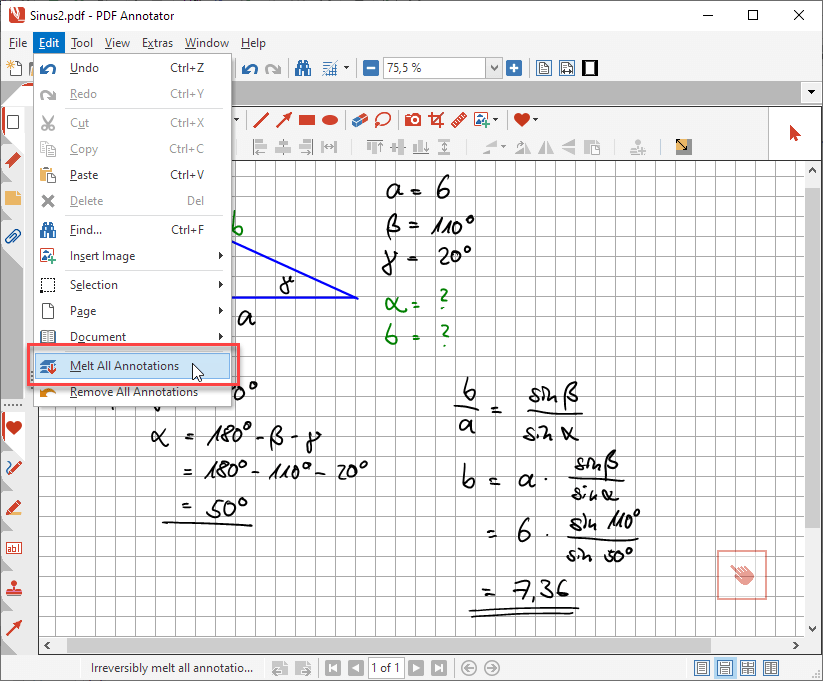
For that reason, the first thing we do is to use the Edit, Melt All Annotations command to make everything on the slide permanent.
(Another important reason for using Melt All Annotations: Otherwise we would not be able to cover the handwritten content with rectangles - because PDF Annotator always puts handwriting on top of other elements!)
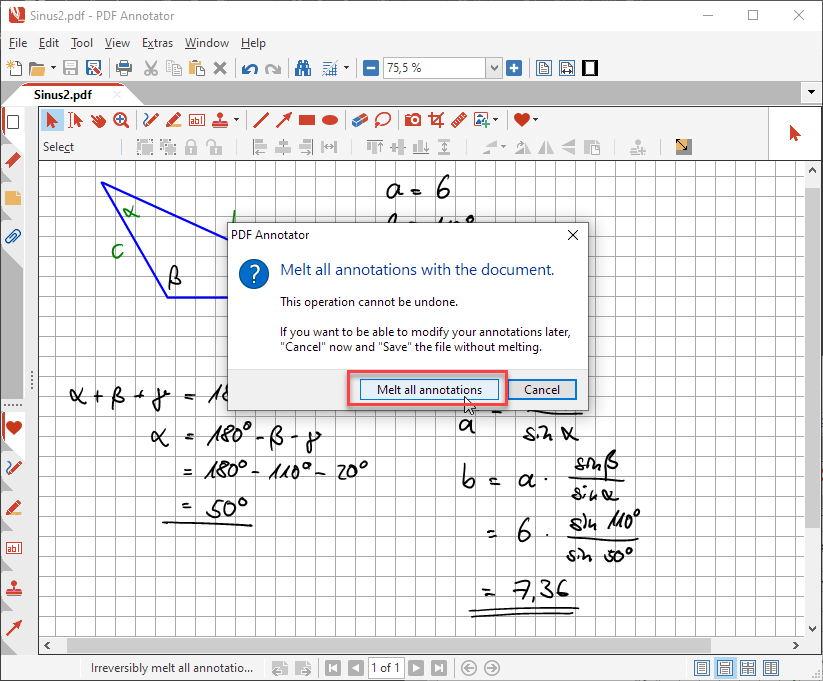
We need to confirm the Melt all annotations command.
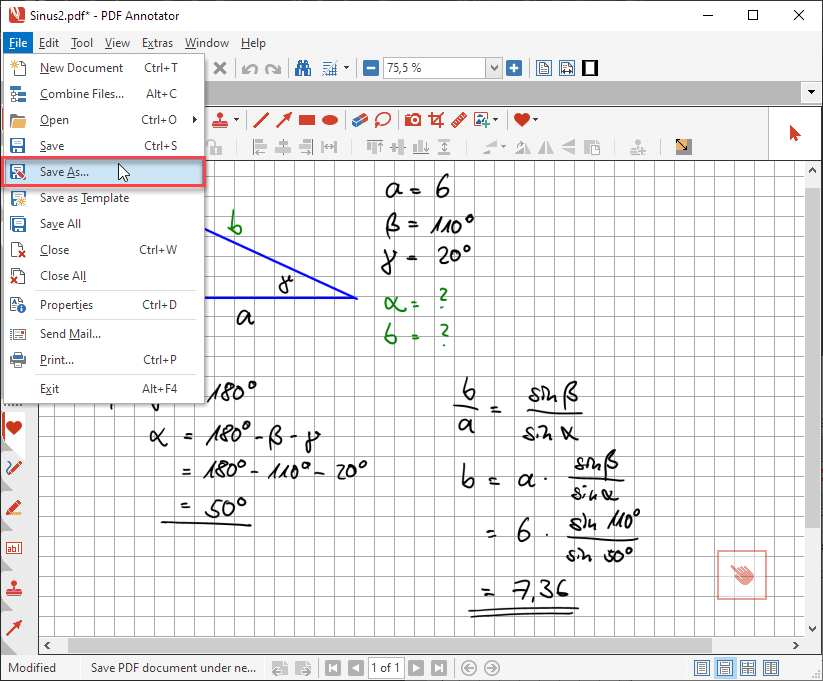
In the next step, we're going to save the melted document to a new file, because we don't want to accidentally override our editable, original slides. Select File, Save as to save under a new file.
That way, we can always edit the original file. Once melted, the original content cannot be edited anymore, though.
After having saved the document under the new "Sinus (covered).pdf" file, we can start placing rectangles to cover the solution in our lesson.
To place those rectangles, switch to the Rectangle tool on the toolbar.
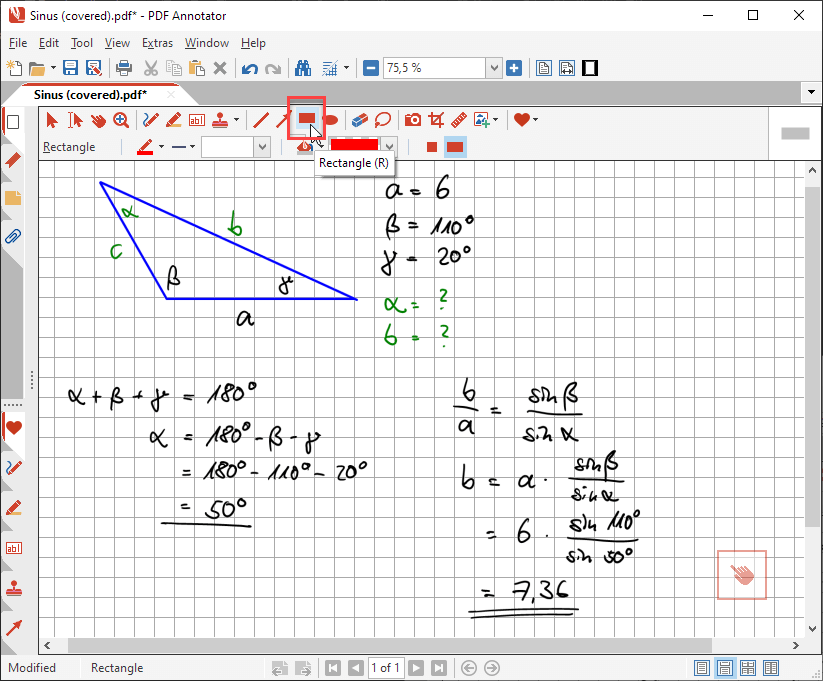
Then, choose an empty border style (step 1), because we want to use simple rectangles without borders.
Select a Fill Color, for example a light grey (step 2). You could also use a white fill color, but that would probably make the rectangles harder to find once they are placed (especially when working on pages without lines or squares in the background).
Finally, start placing the first rectangle (step 3).

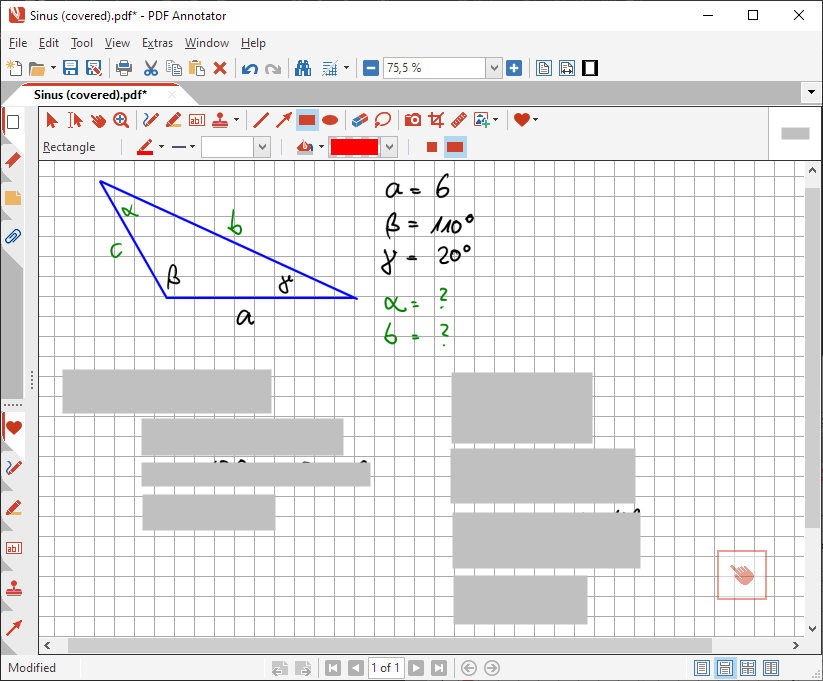
Place rectangle by rectangle to cover all solution steps.
Revealing the covered parts of the slide
Now, fast forward, we are ready to use this slide in class.
After introducing and discussing the problem, we want to remove the covers one by one.
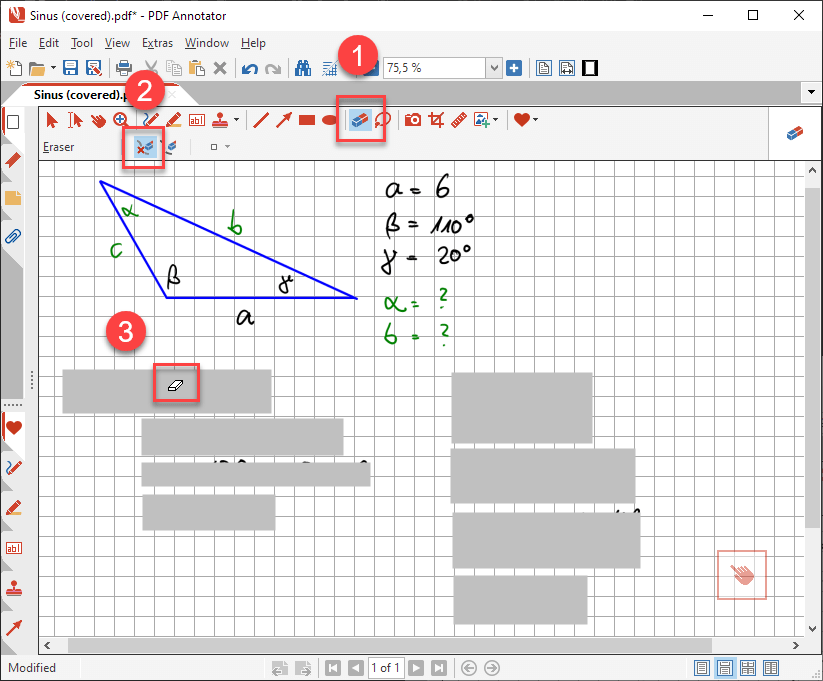
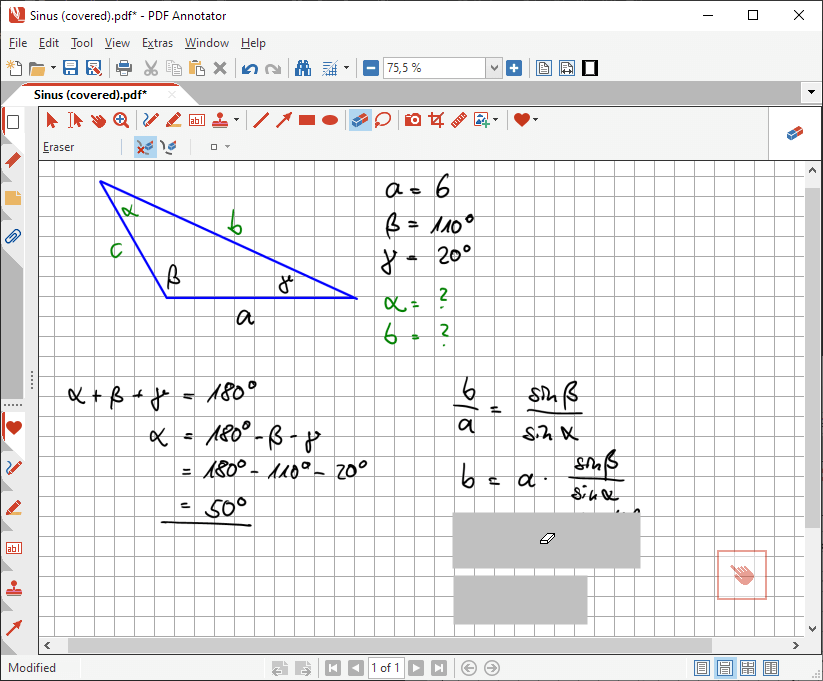
To remove a cover, select the Eraser tool (step 1).
Important: Make sure that the Whole annotation/stroke option is set (step 2).
Now, all you need to do to remove a cover is to click it with the Eraser tool (step 3).
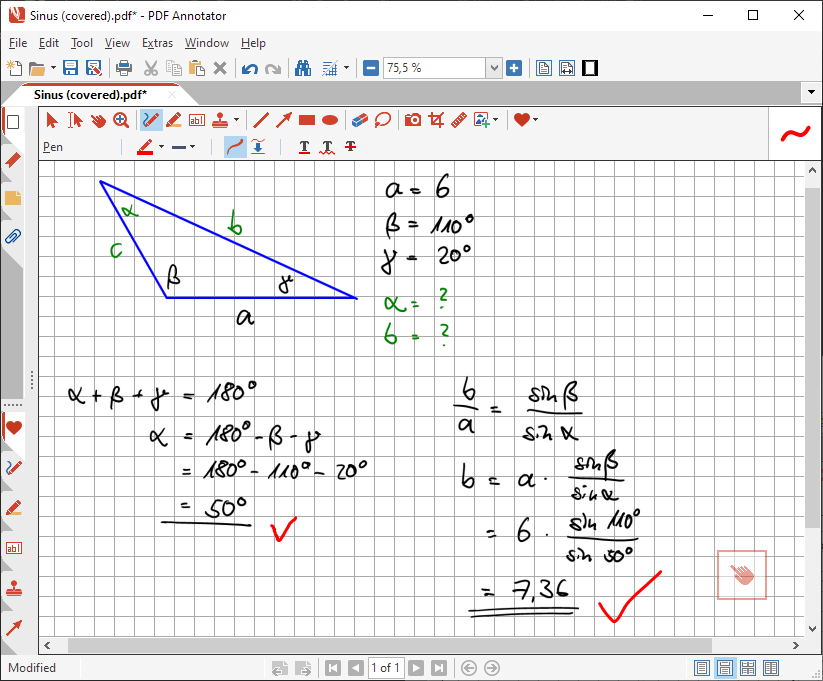
The solution that was previously covered now becomes visible.
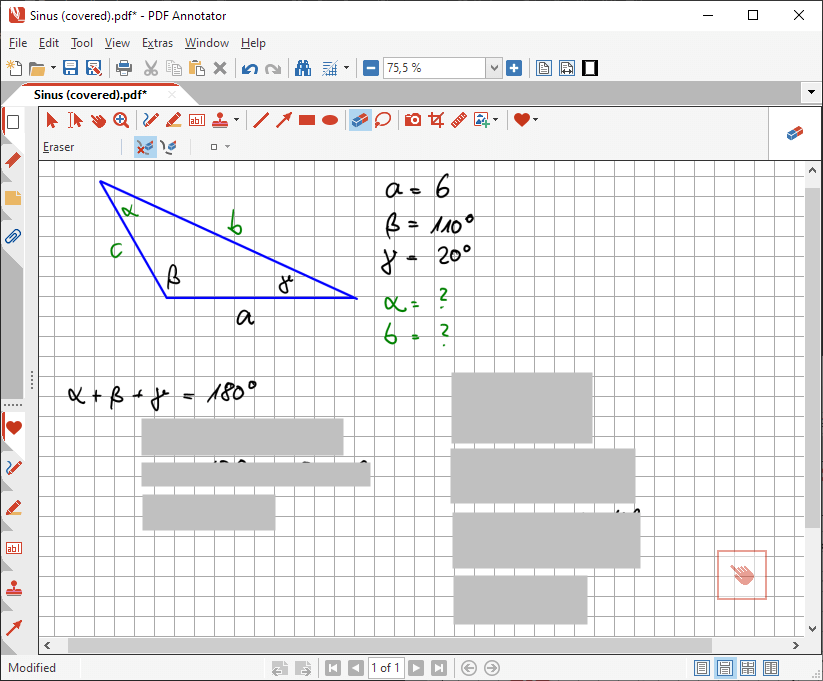
Moving on, we can uncover step by step by just clicking the grey rectangles with the eraser.
Of course we can still add comments or markup to the slide using the whole PDF Annotator tool palette.
Using this technique, we can easily prepare slides for a lesson, cover parts of the slides, and reveal those parts step by step in class.